Traveling with Baby- 1 Year Old

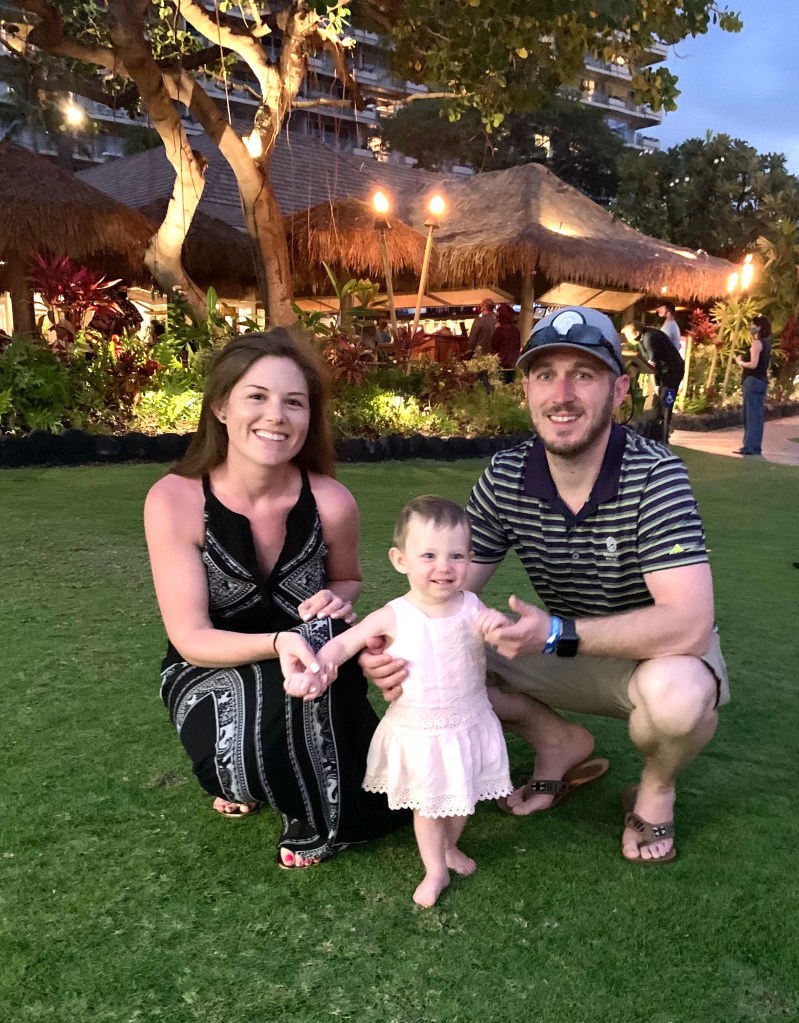
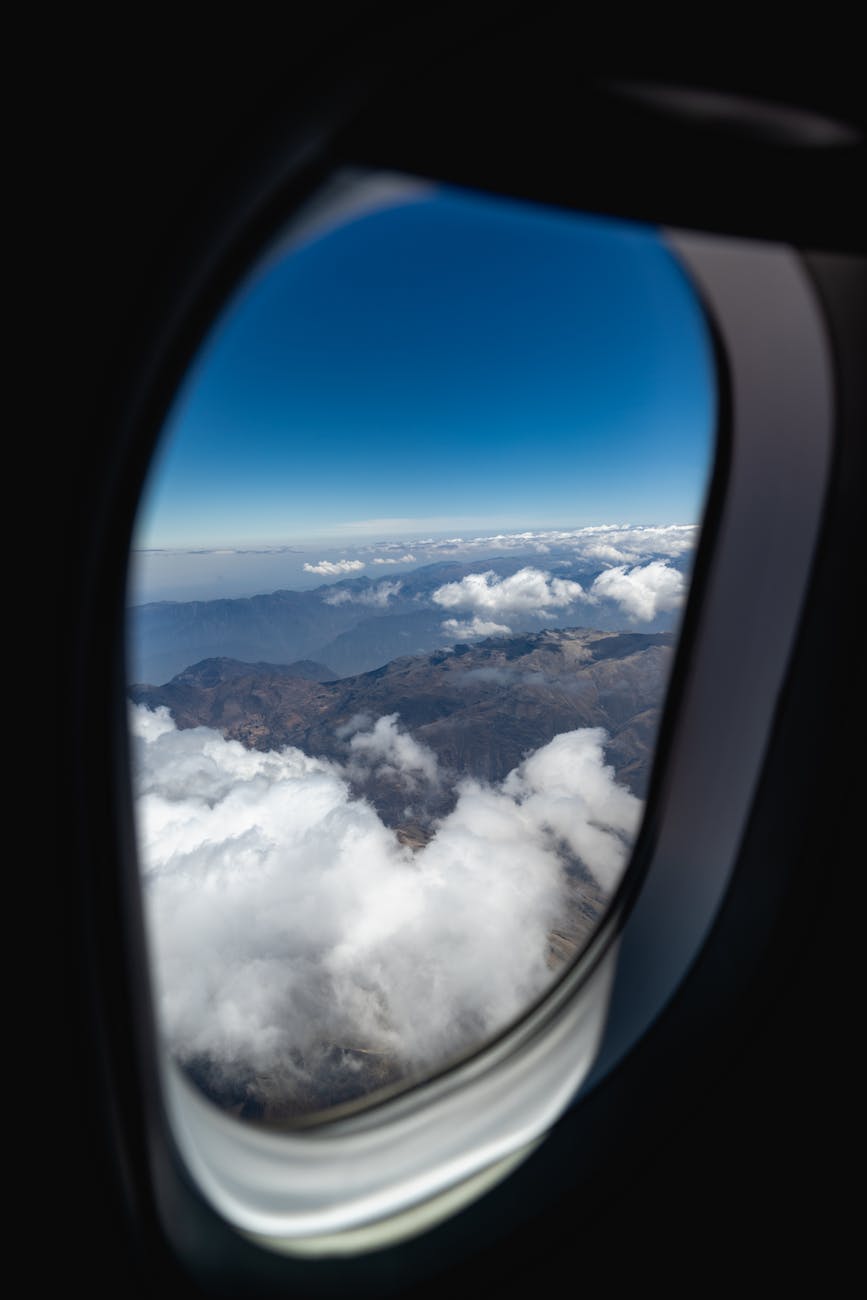
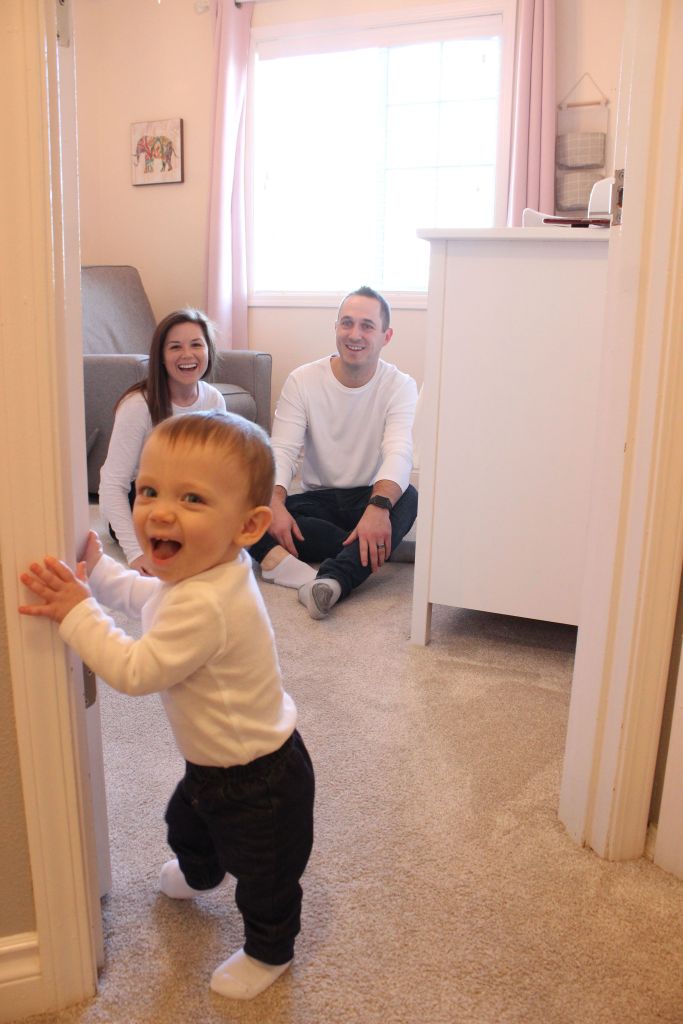
Welcome to my “Traveling with Baby” series, where I have been sharing my travel experiences during the first year of my daughters life. When our daughter was 13 months old and we flew to Maui for a 5 day getaway! It was our longest flight (PDX – OGG, about 6 hours) to date with her.

What to Bring-

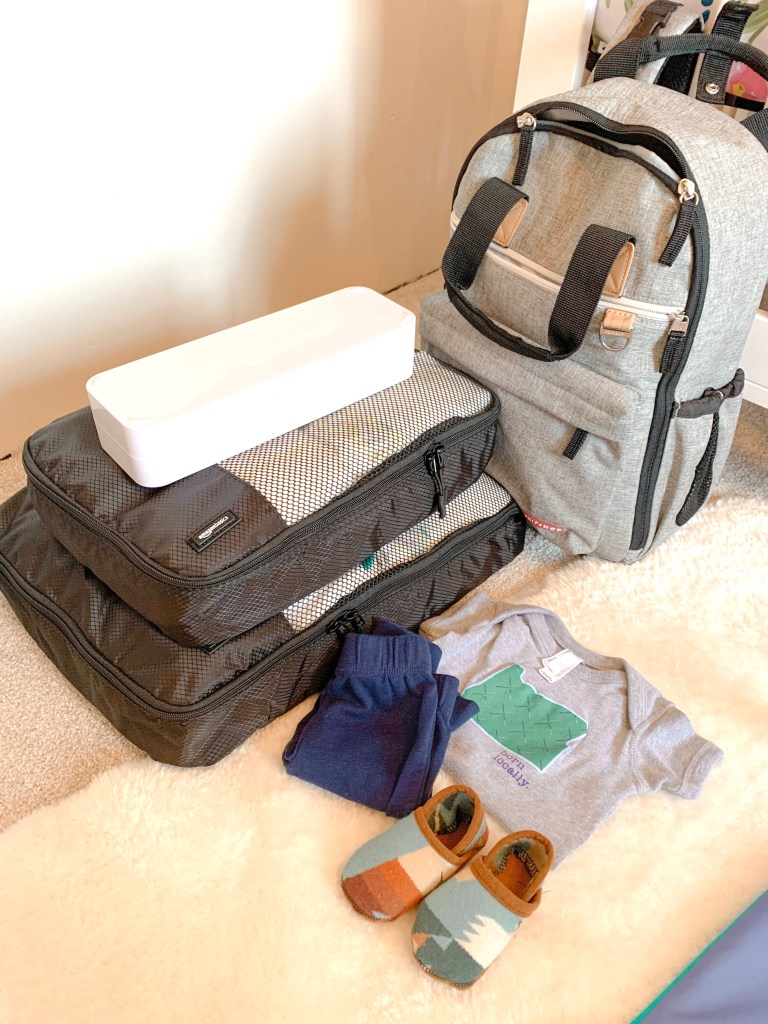
I share my baby packing tips here, but for this trip, there are a few extras we decided to take.

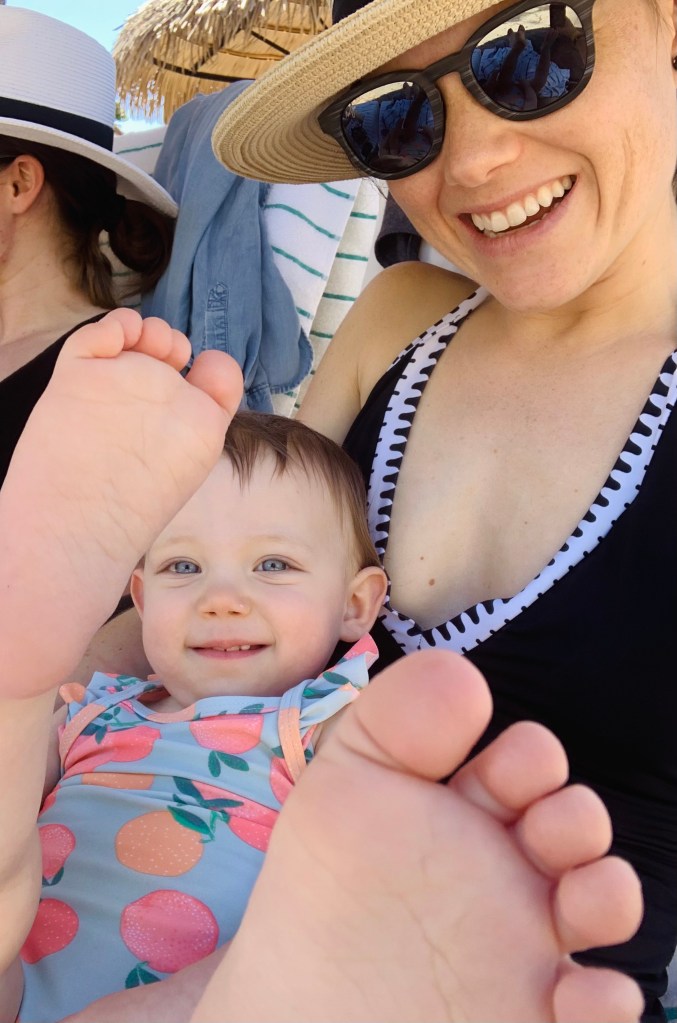
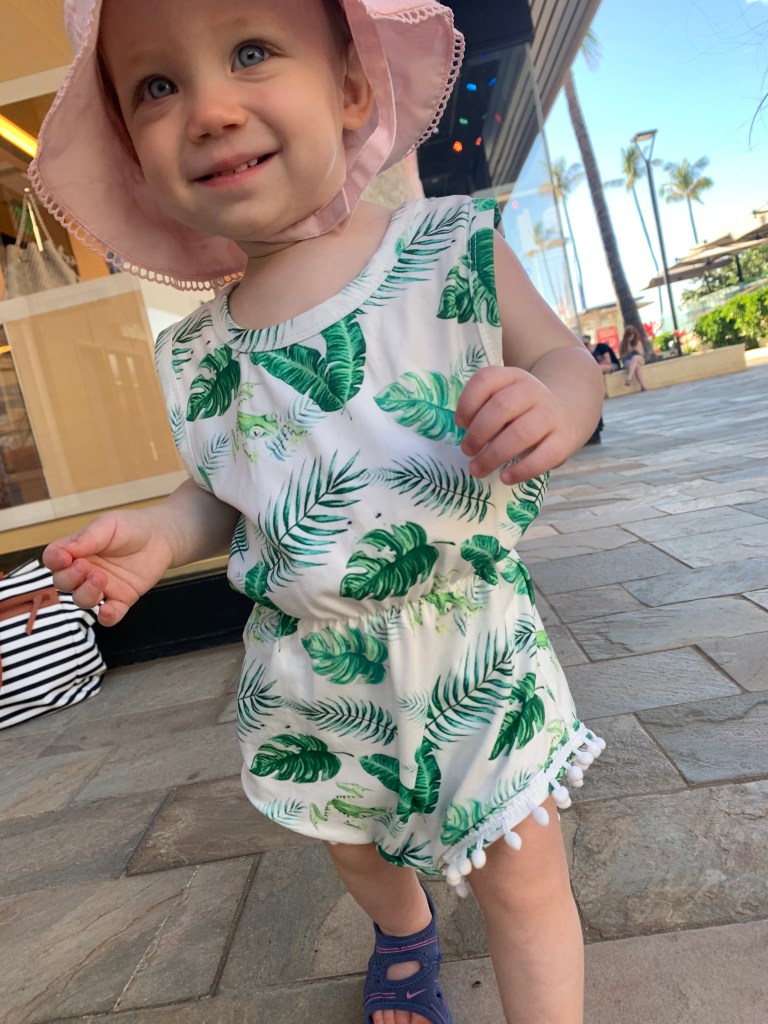
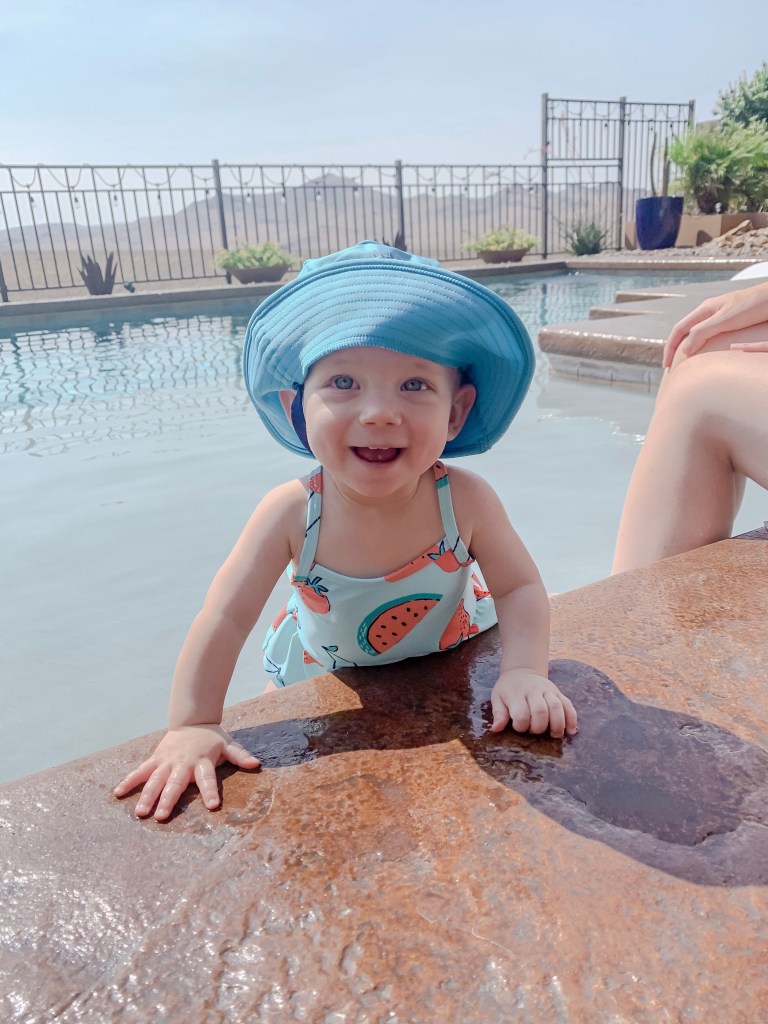
  • Swimsuits galore- I took one swimsuit a day for her!! That may seem excessive for some but I couldn’t decide between all the cute ones she has and figured she would make a mess of one or two of them (this did happen- one blowout and various food smears). This is the cute one below
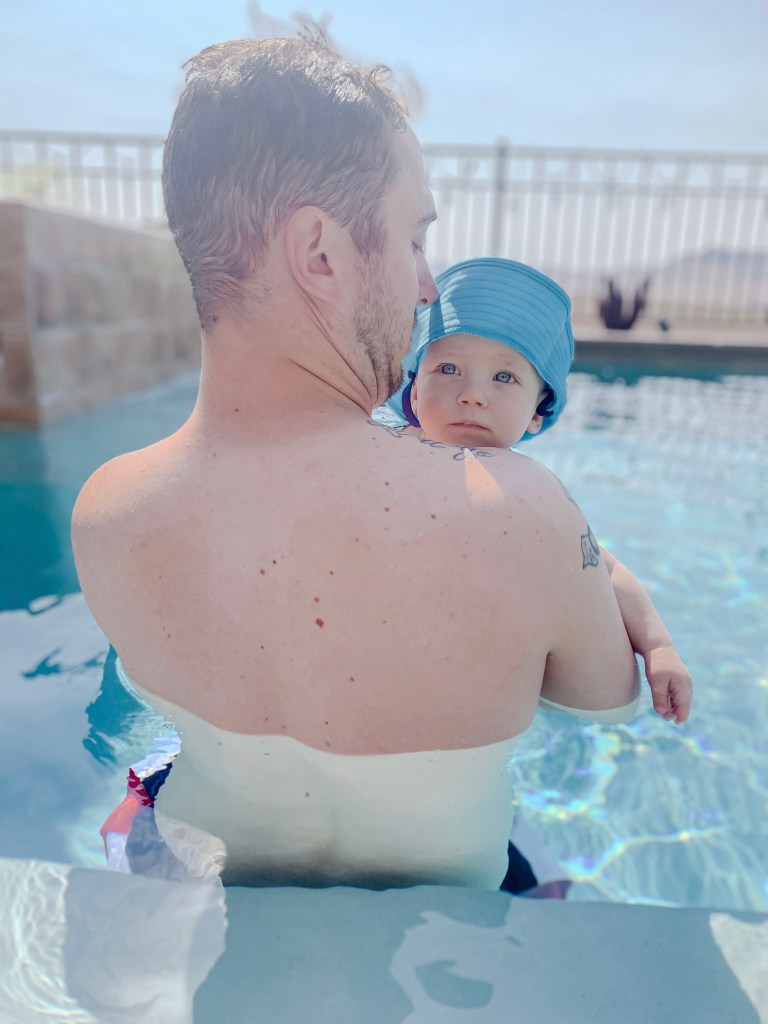
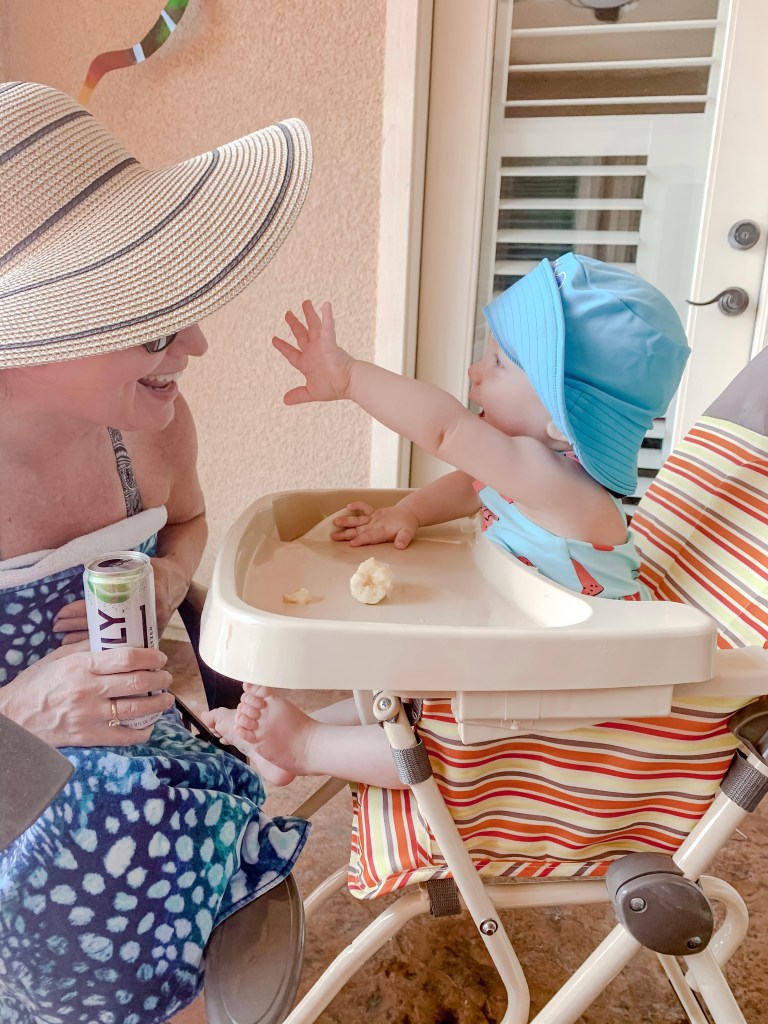
  • Sun hats – We had 4 hats all together. A few UV protective hats and ones she could wear in the pool!
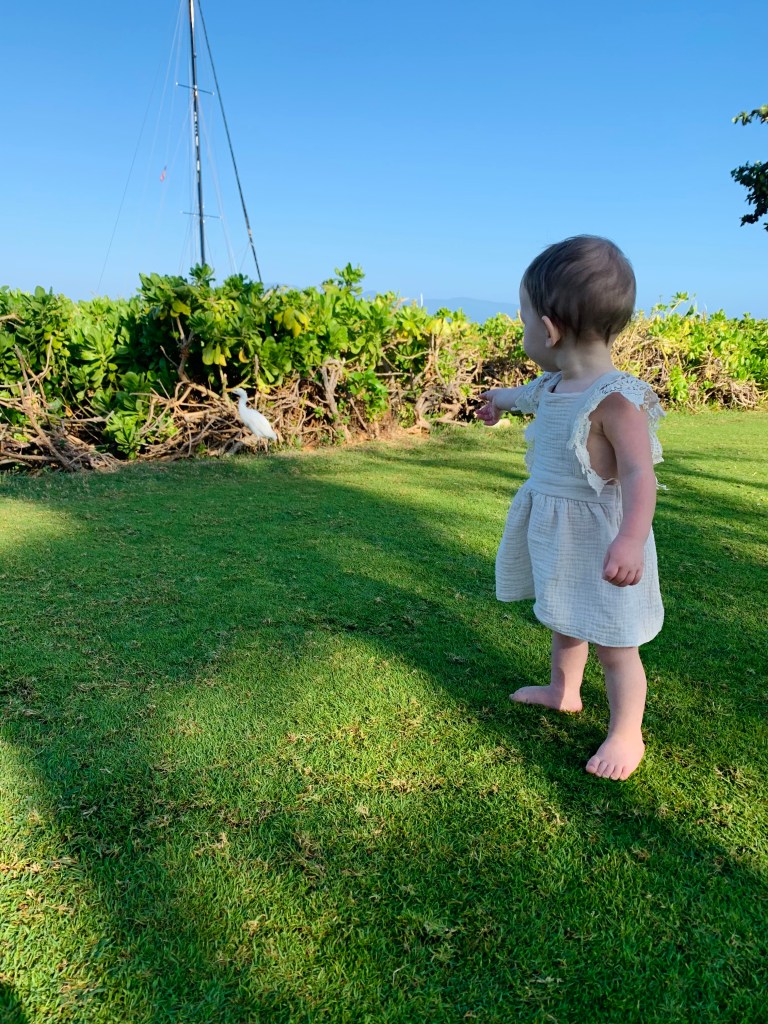
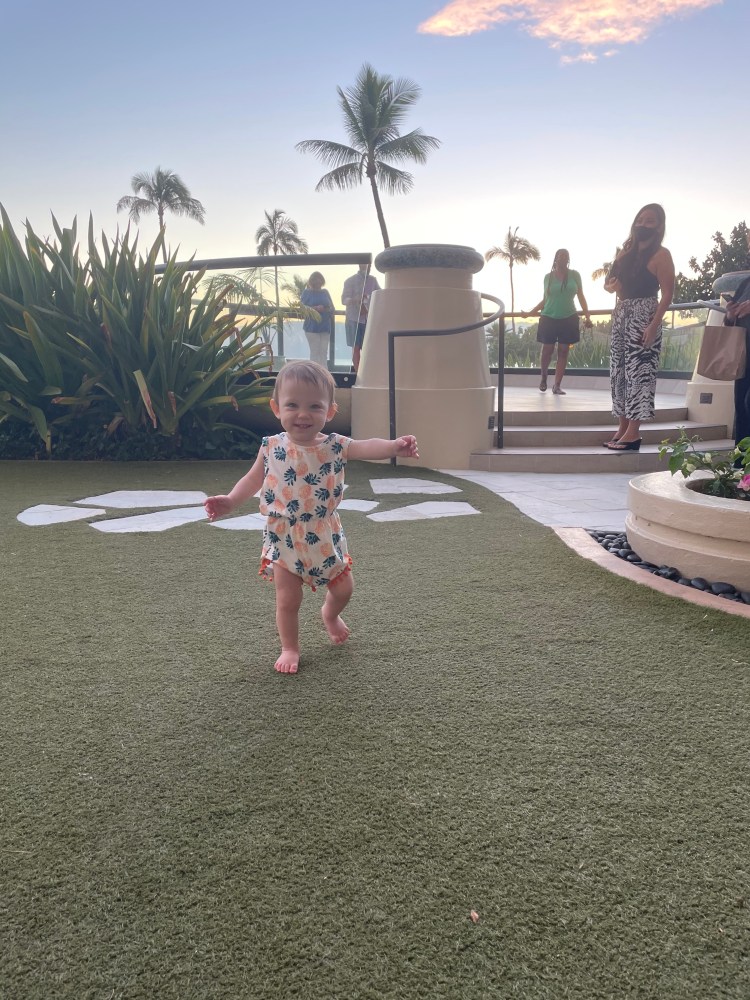
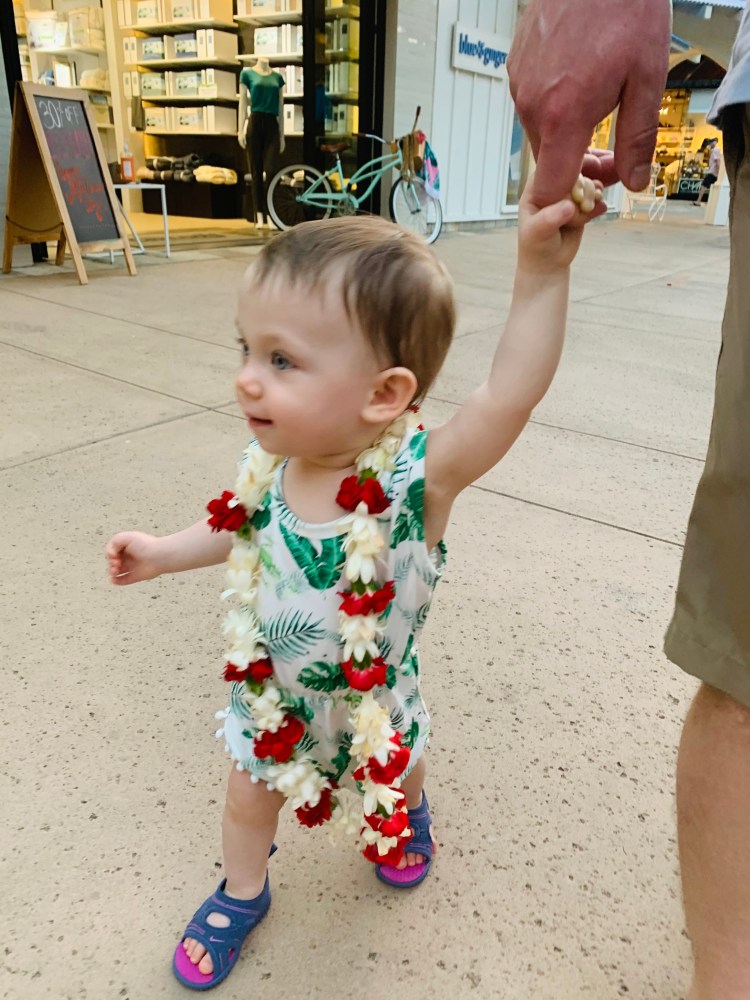
  • Left the stroller! – We decided to leave our stroller at home this time. Since we stayed in a resort, we figured most things we needed were within the resort and she would either walk with us or we could put her in the front pack, if needed. She usually wanted to walk on her own and we loved watching her explore!
  • Sandals- We had a pair of hand-me downs that were perfect for her on this trip. They kept her feet from burning near the pool and in the sand. These are similar to the ones we have.
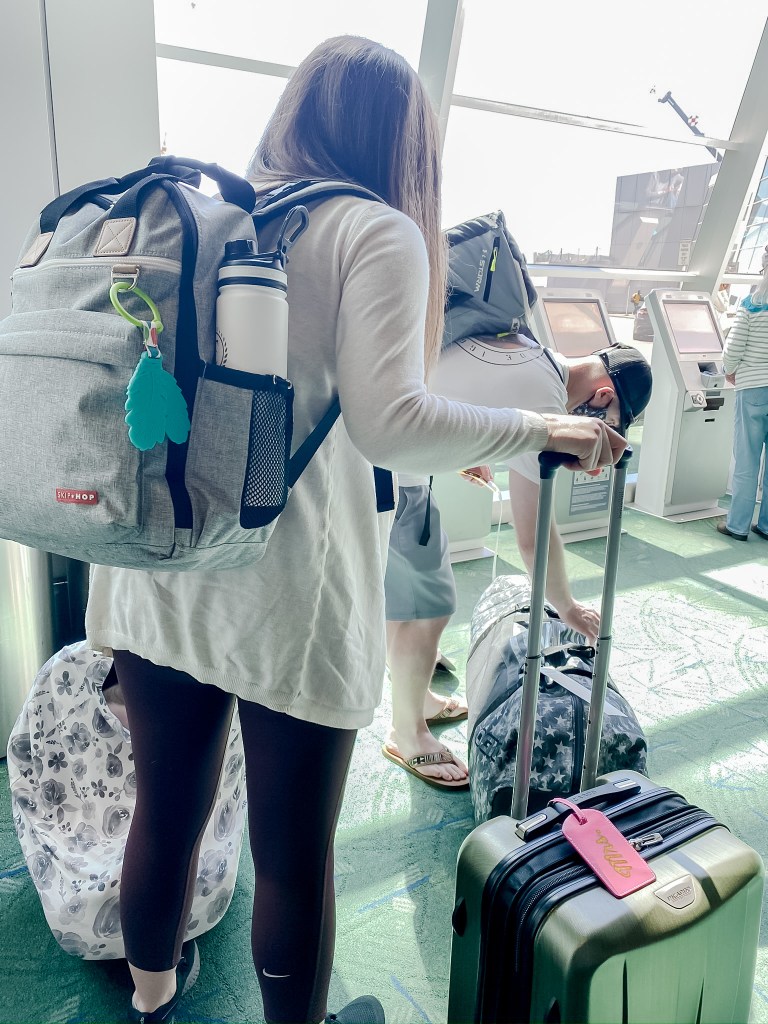
At the Airport

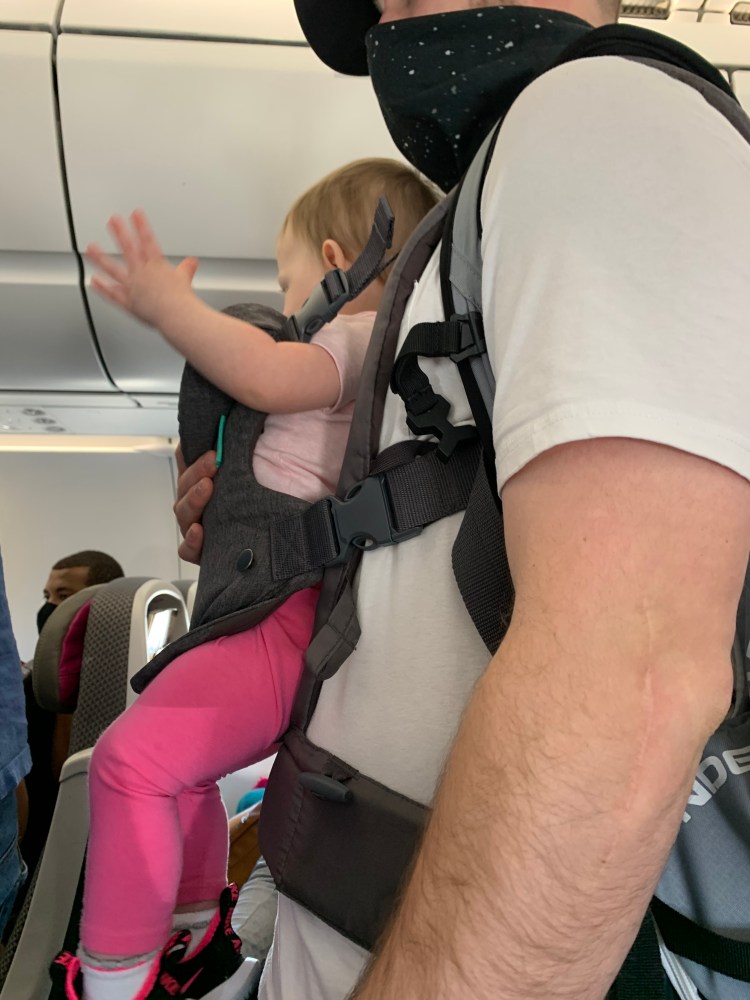
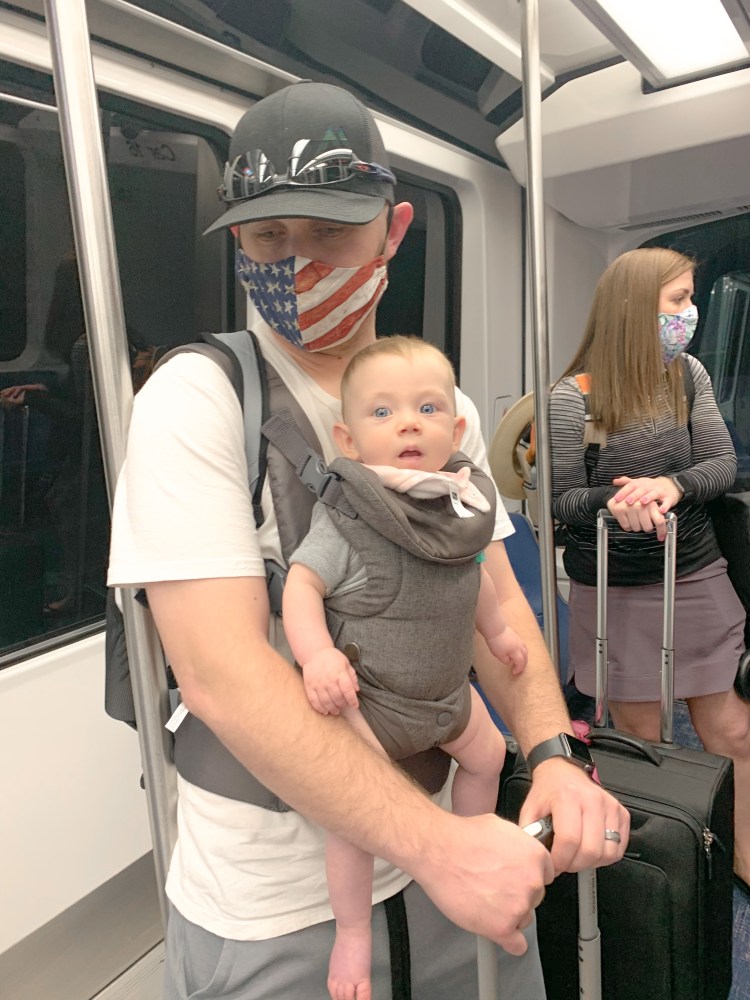
Same as previous trips, we use the front pack to carry her through security. At this age, our daughter is still tiny and does great in the front pack. We also checked a bag this trip so we could take full size sunscreen and toiletries, it was nice not having additional bags to carry through the airport. Our car seat bag came in handy again as well.

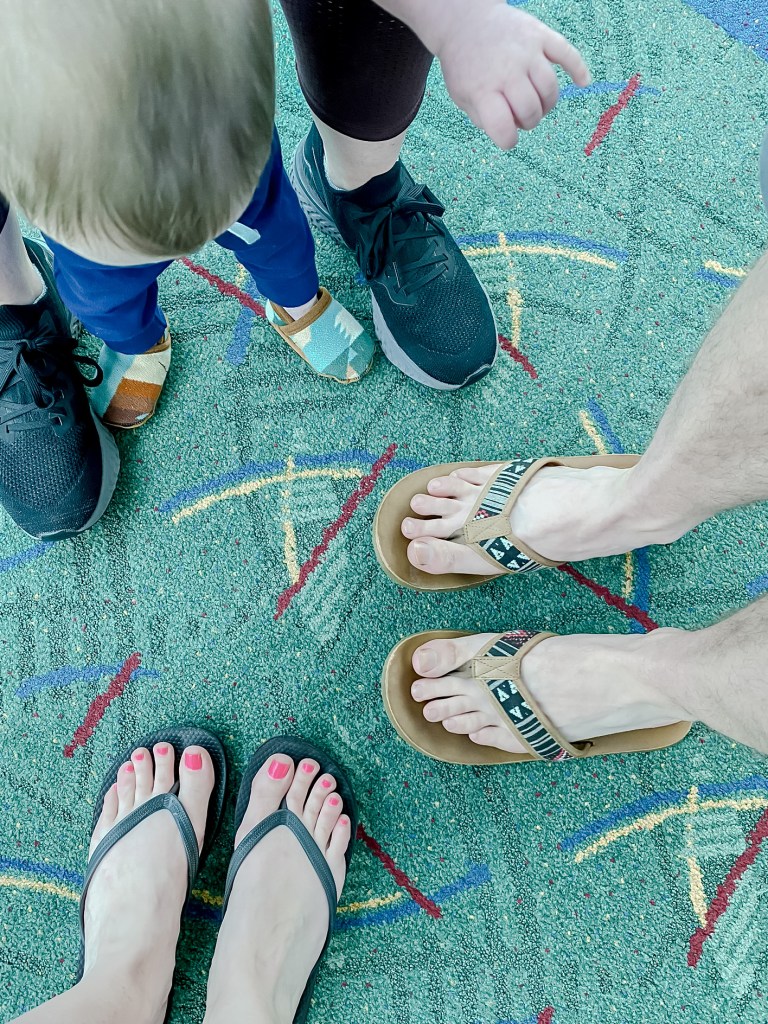
Prior to boarding, we changed her diaper and used the restroom. Even though this flight was long enough that we would all need to do it again, it gave us a little more time before we would need to. Since she is also walking, it was great to get her out of the front pack and stretch her legs before boarding. We decided to skip family priority boarding this time since we didn’t have anything for the overhead bins and our daughter could walk around for as long as possible.

On the Airplane

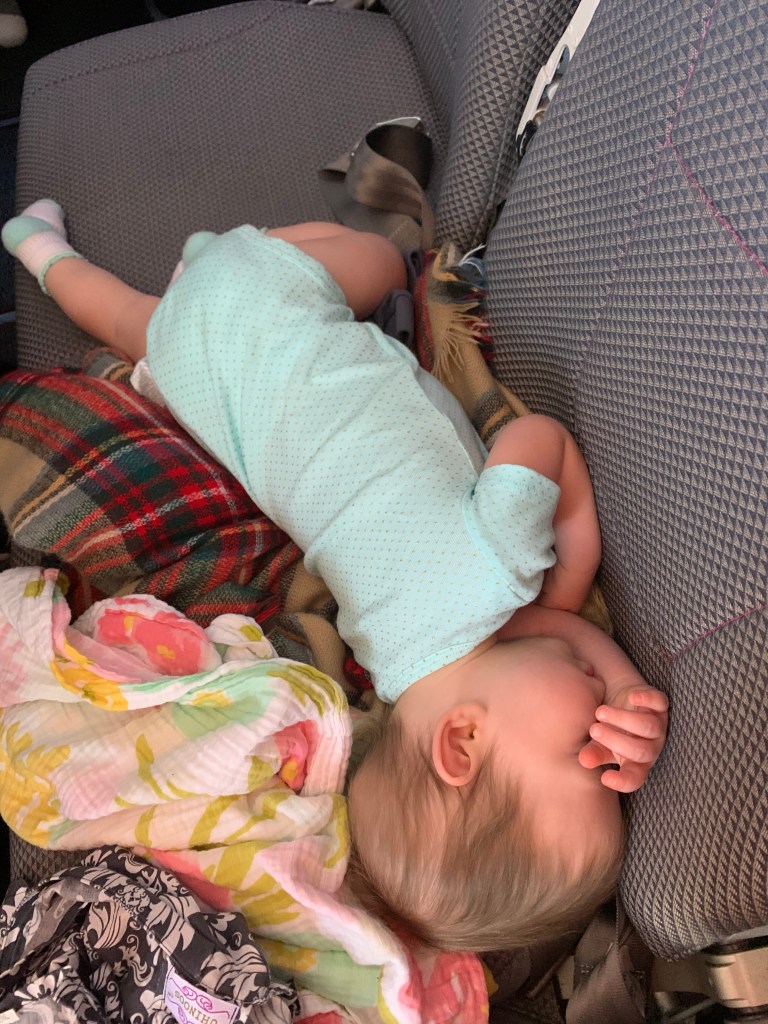
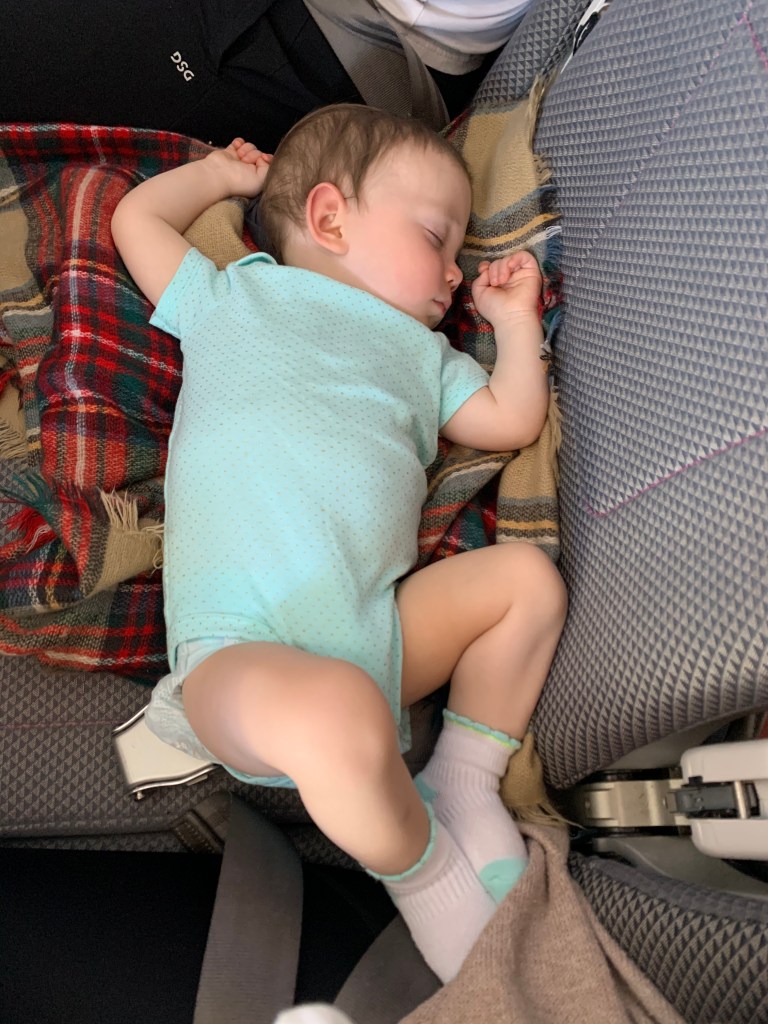
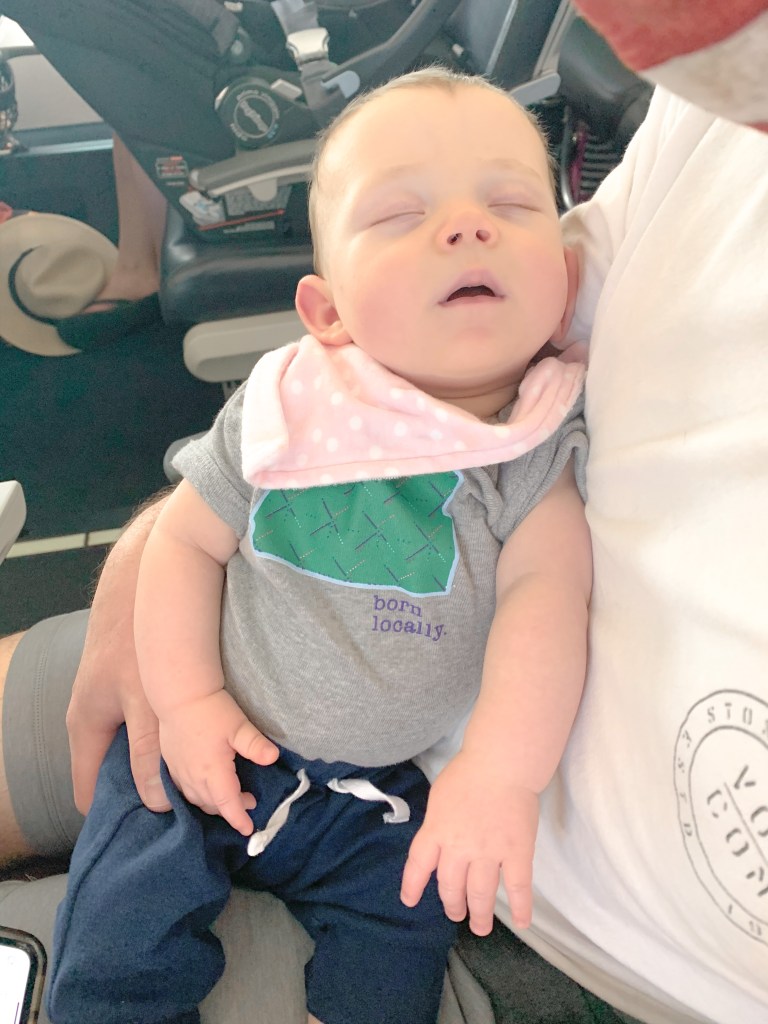
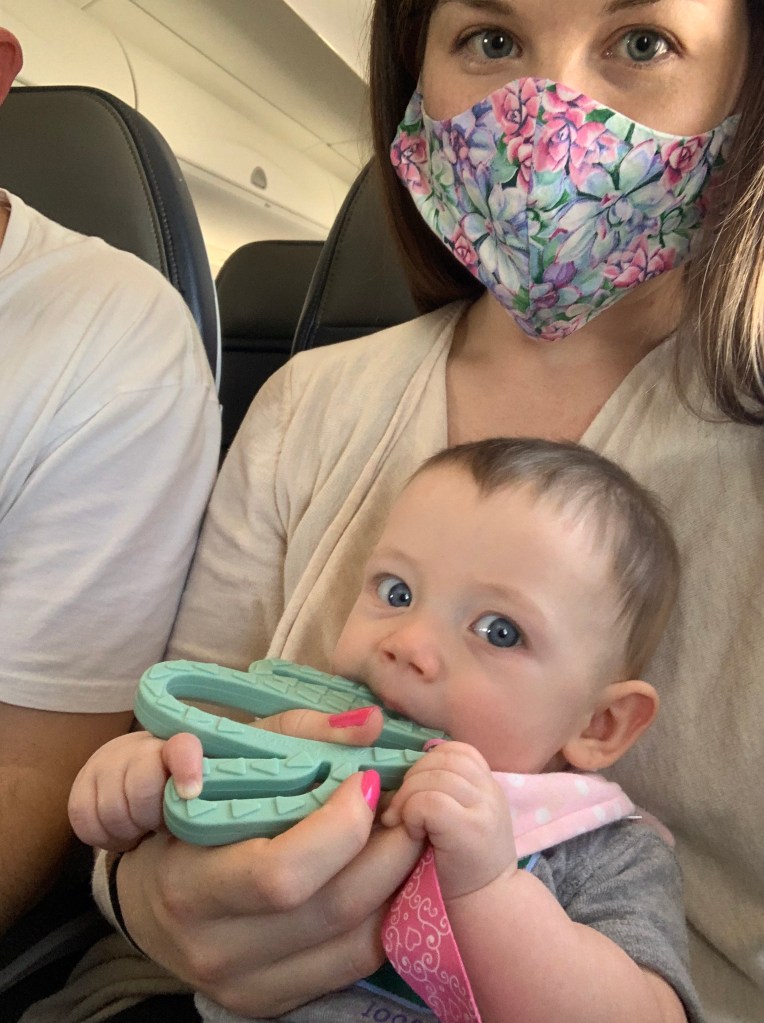
Once on the airplane, we had our own row for the three of us! Our daughter had her own seat on this flight and we’re SO glad we got her one this time. Hawaiian Airlines would have charged us for her car seat to be checked if she didn’t have her own seat! Also, having her own space for naps and just hanging out on her own was needed this flight. She is much more independent than she was on our previous flights and we figured she wouldn’t sit still for 6 hours in our laps.

Hands free for boarding and departing the plane

We had 2 backpacks and a large tote bag to fit everything we needed on the flight. I organized the bags so that each one held similar items.

  • One of the backpacks was mostly for my husbands work items, his laptop, notebook, etc and I added our iPad (pre downloaded BabyBum, Cocomelon and a few other kid shows on the Netflix app) and these headphones for our daughter. They are made so the volume can’t go too loud for their ears. They also come in cute colors and designs. Our daughter would rather play with the keyboard than watch her show but it helps for a little bit.
Watching her own show on the iPad with her headphones
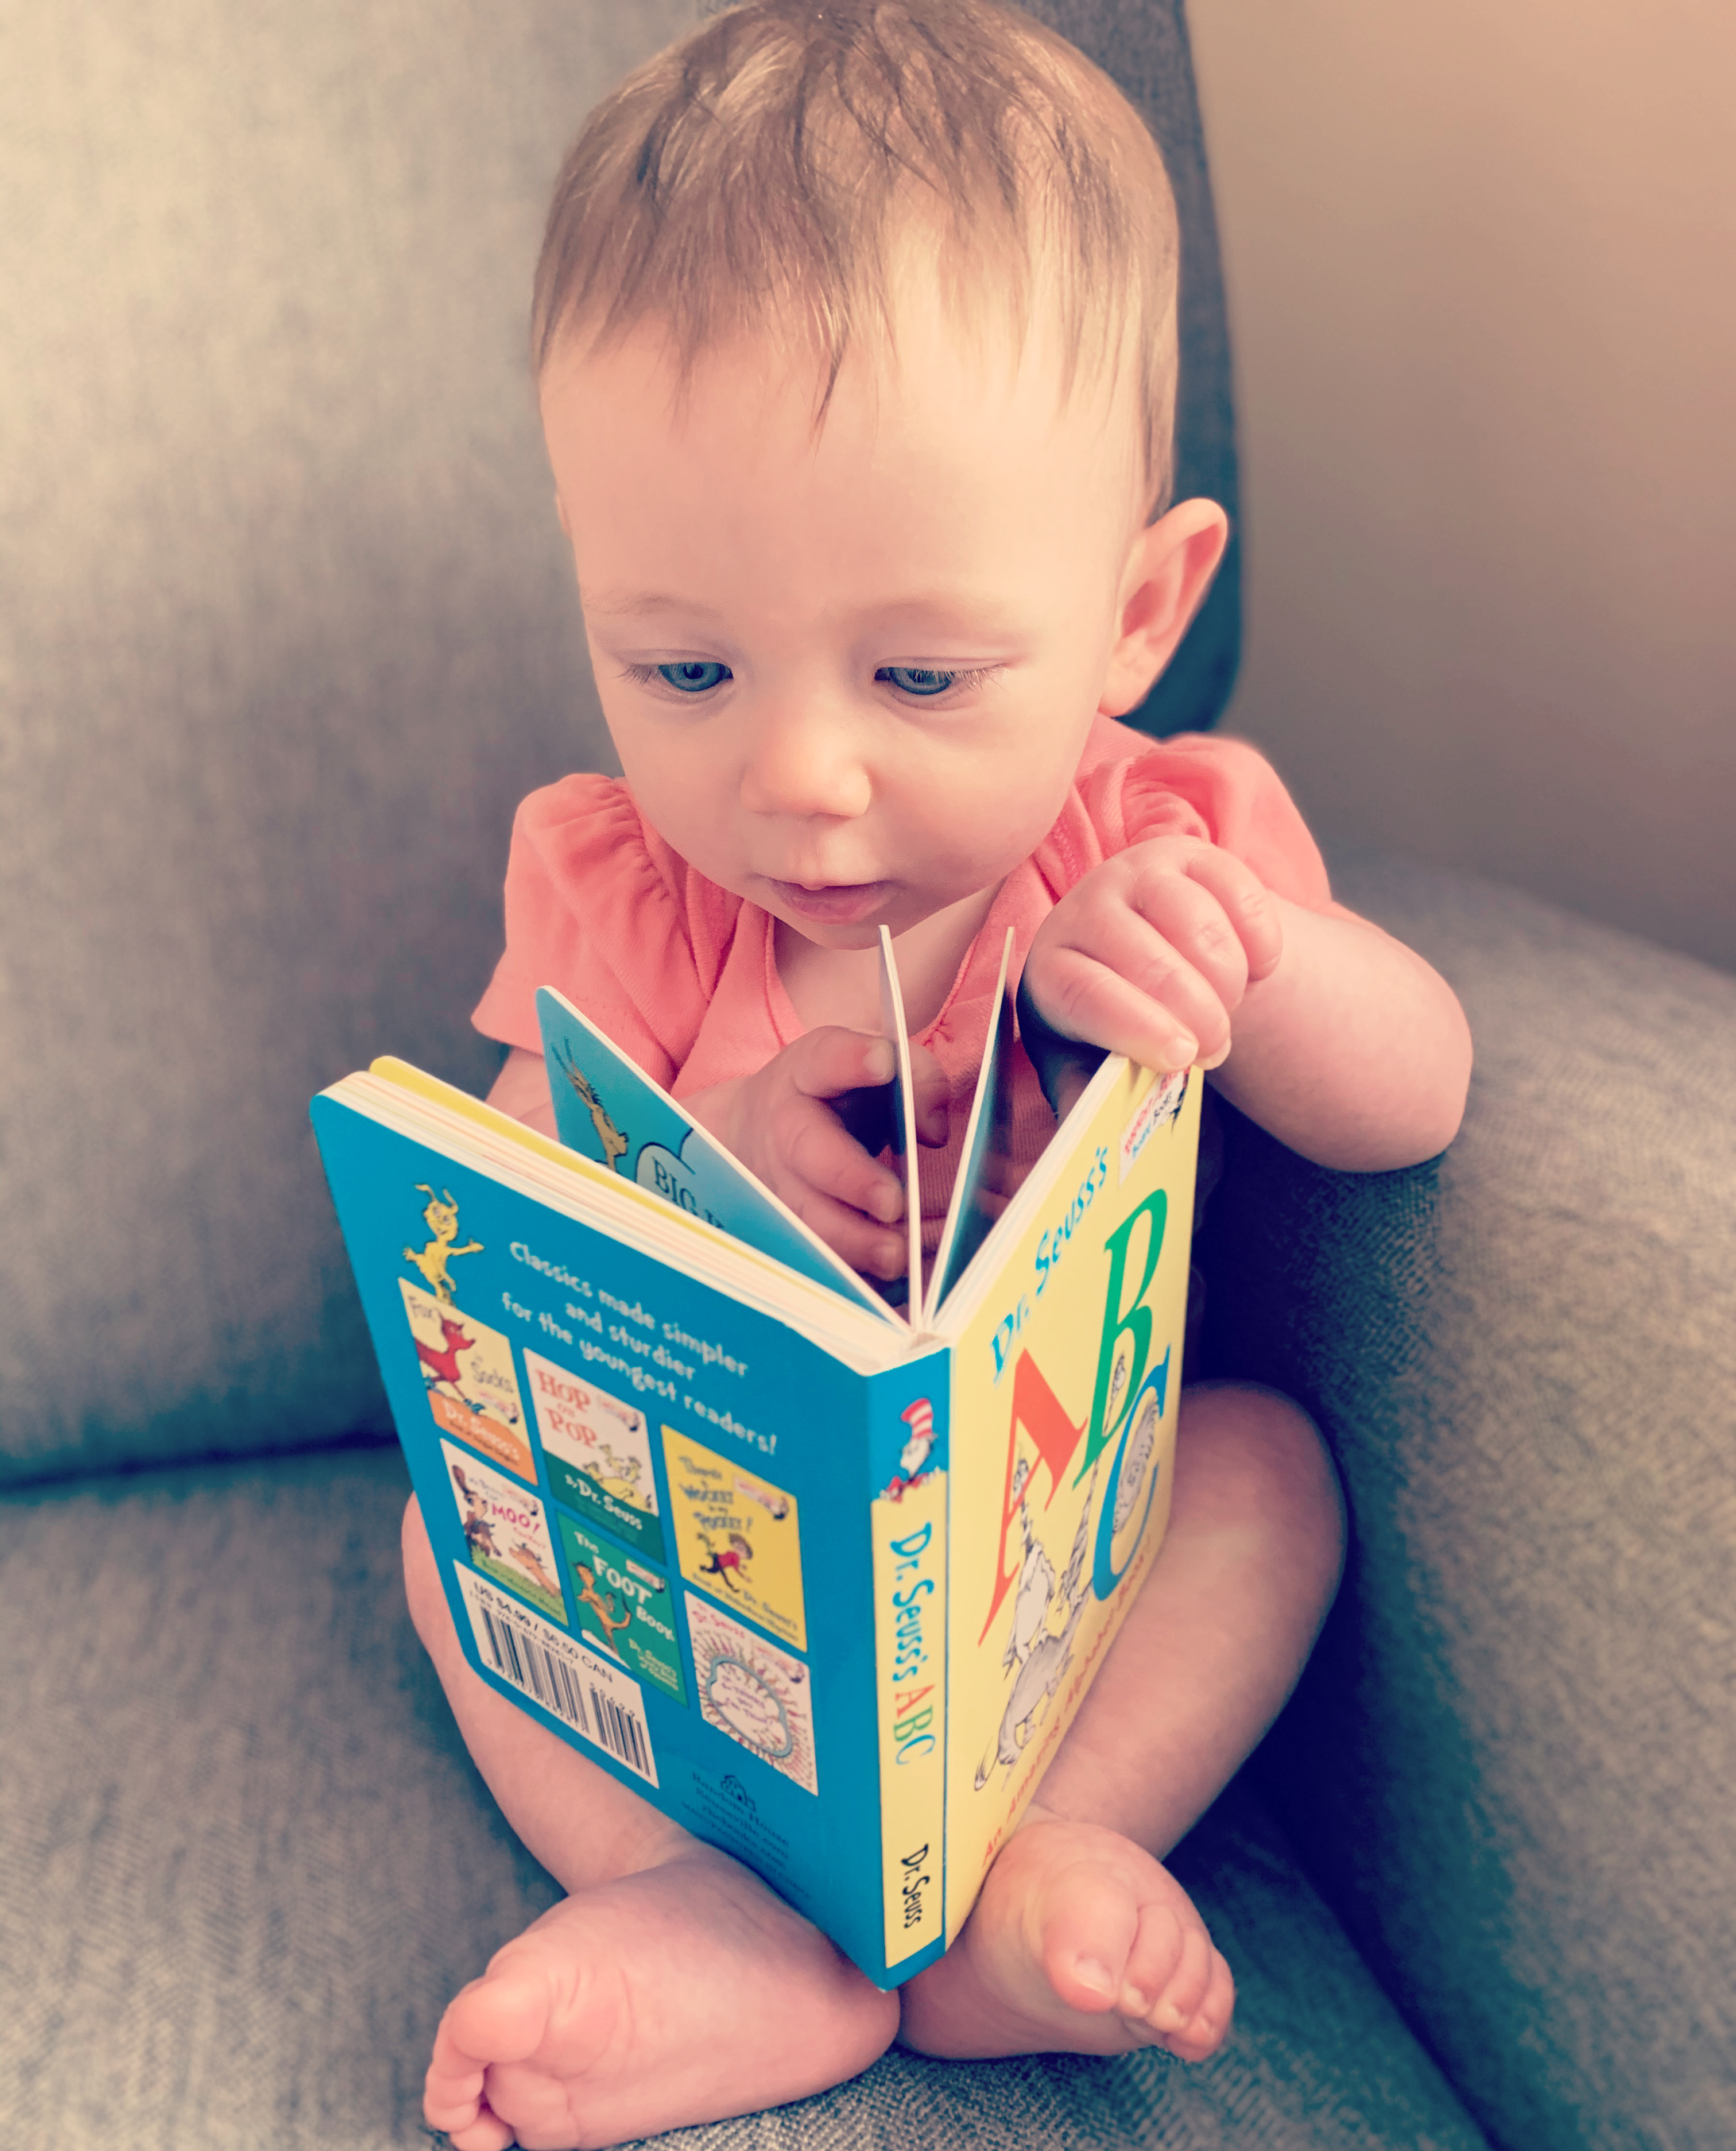
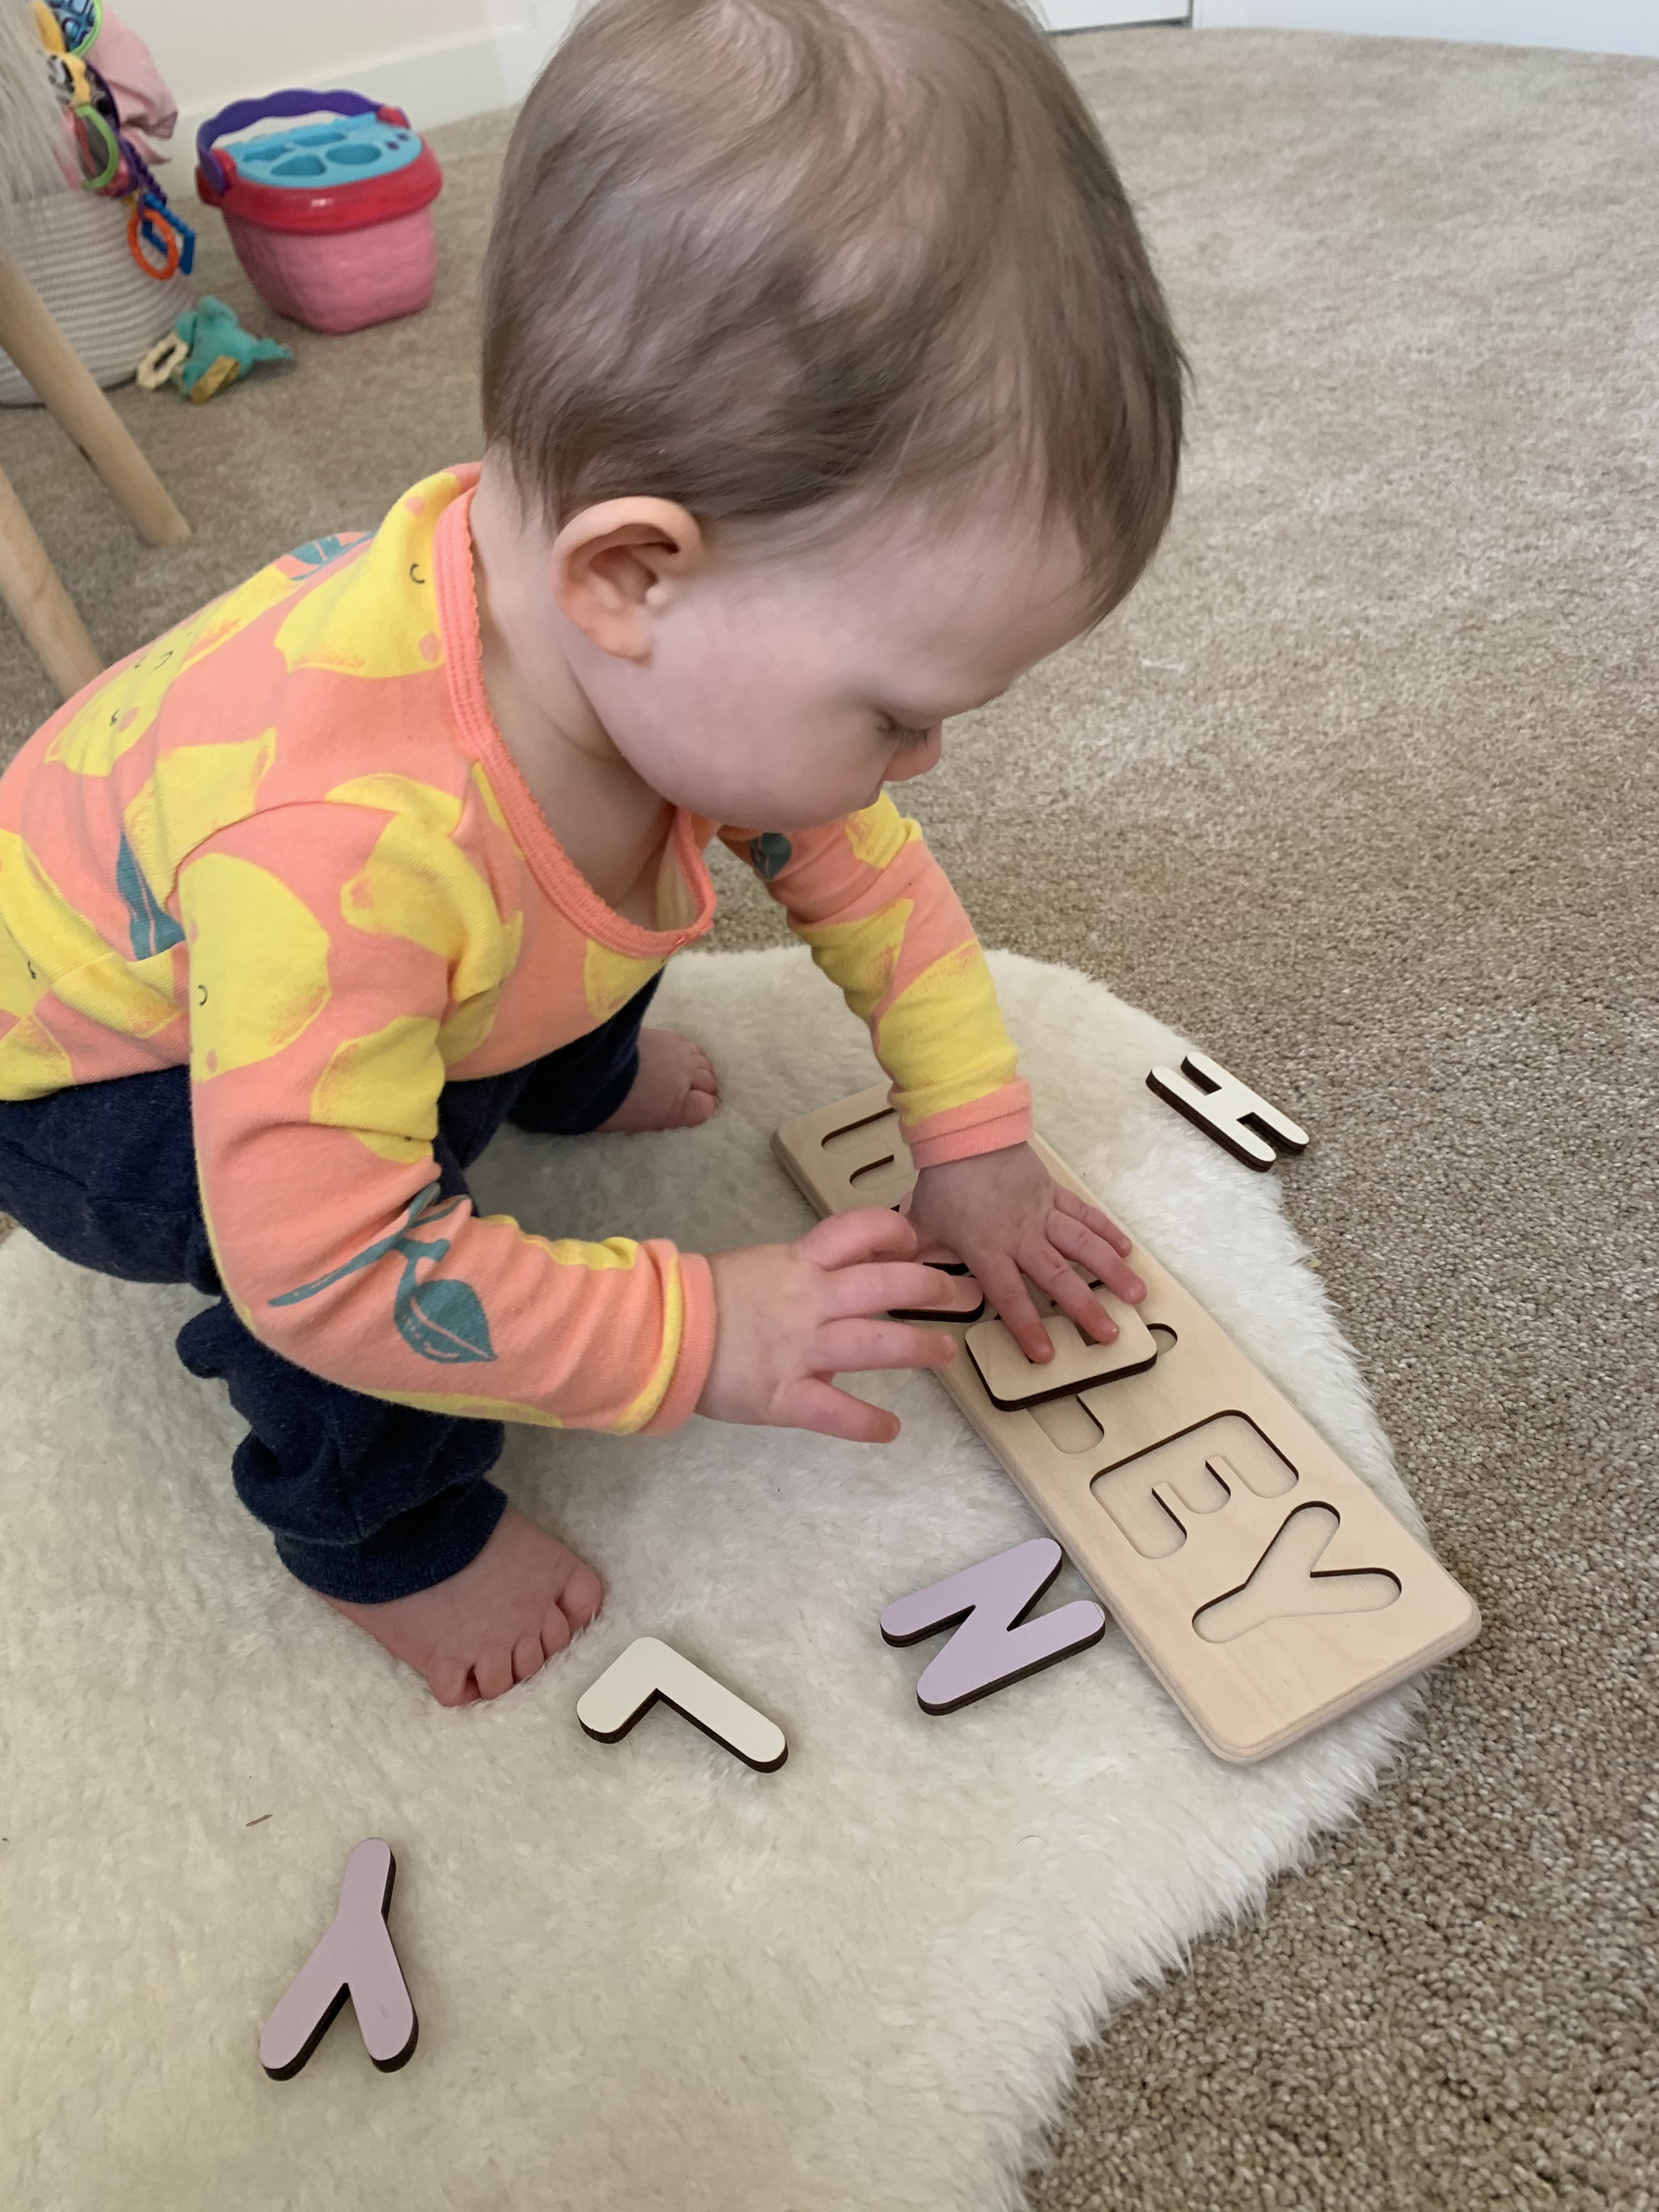
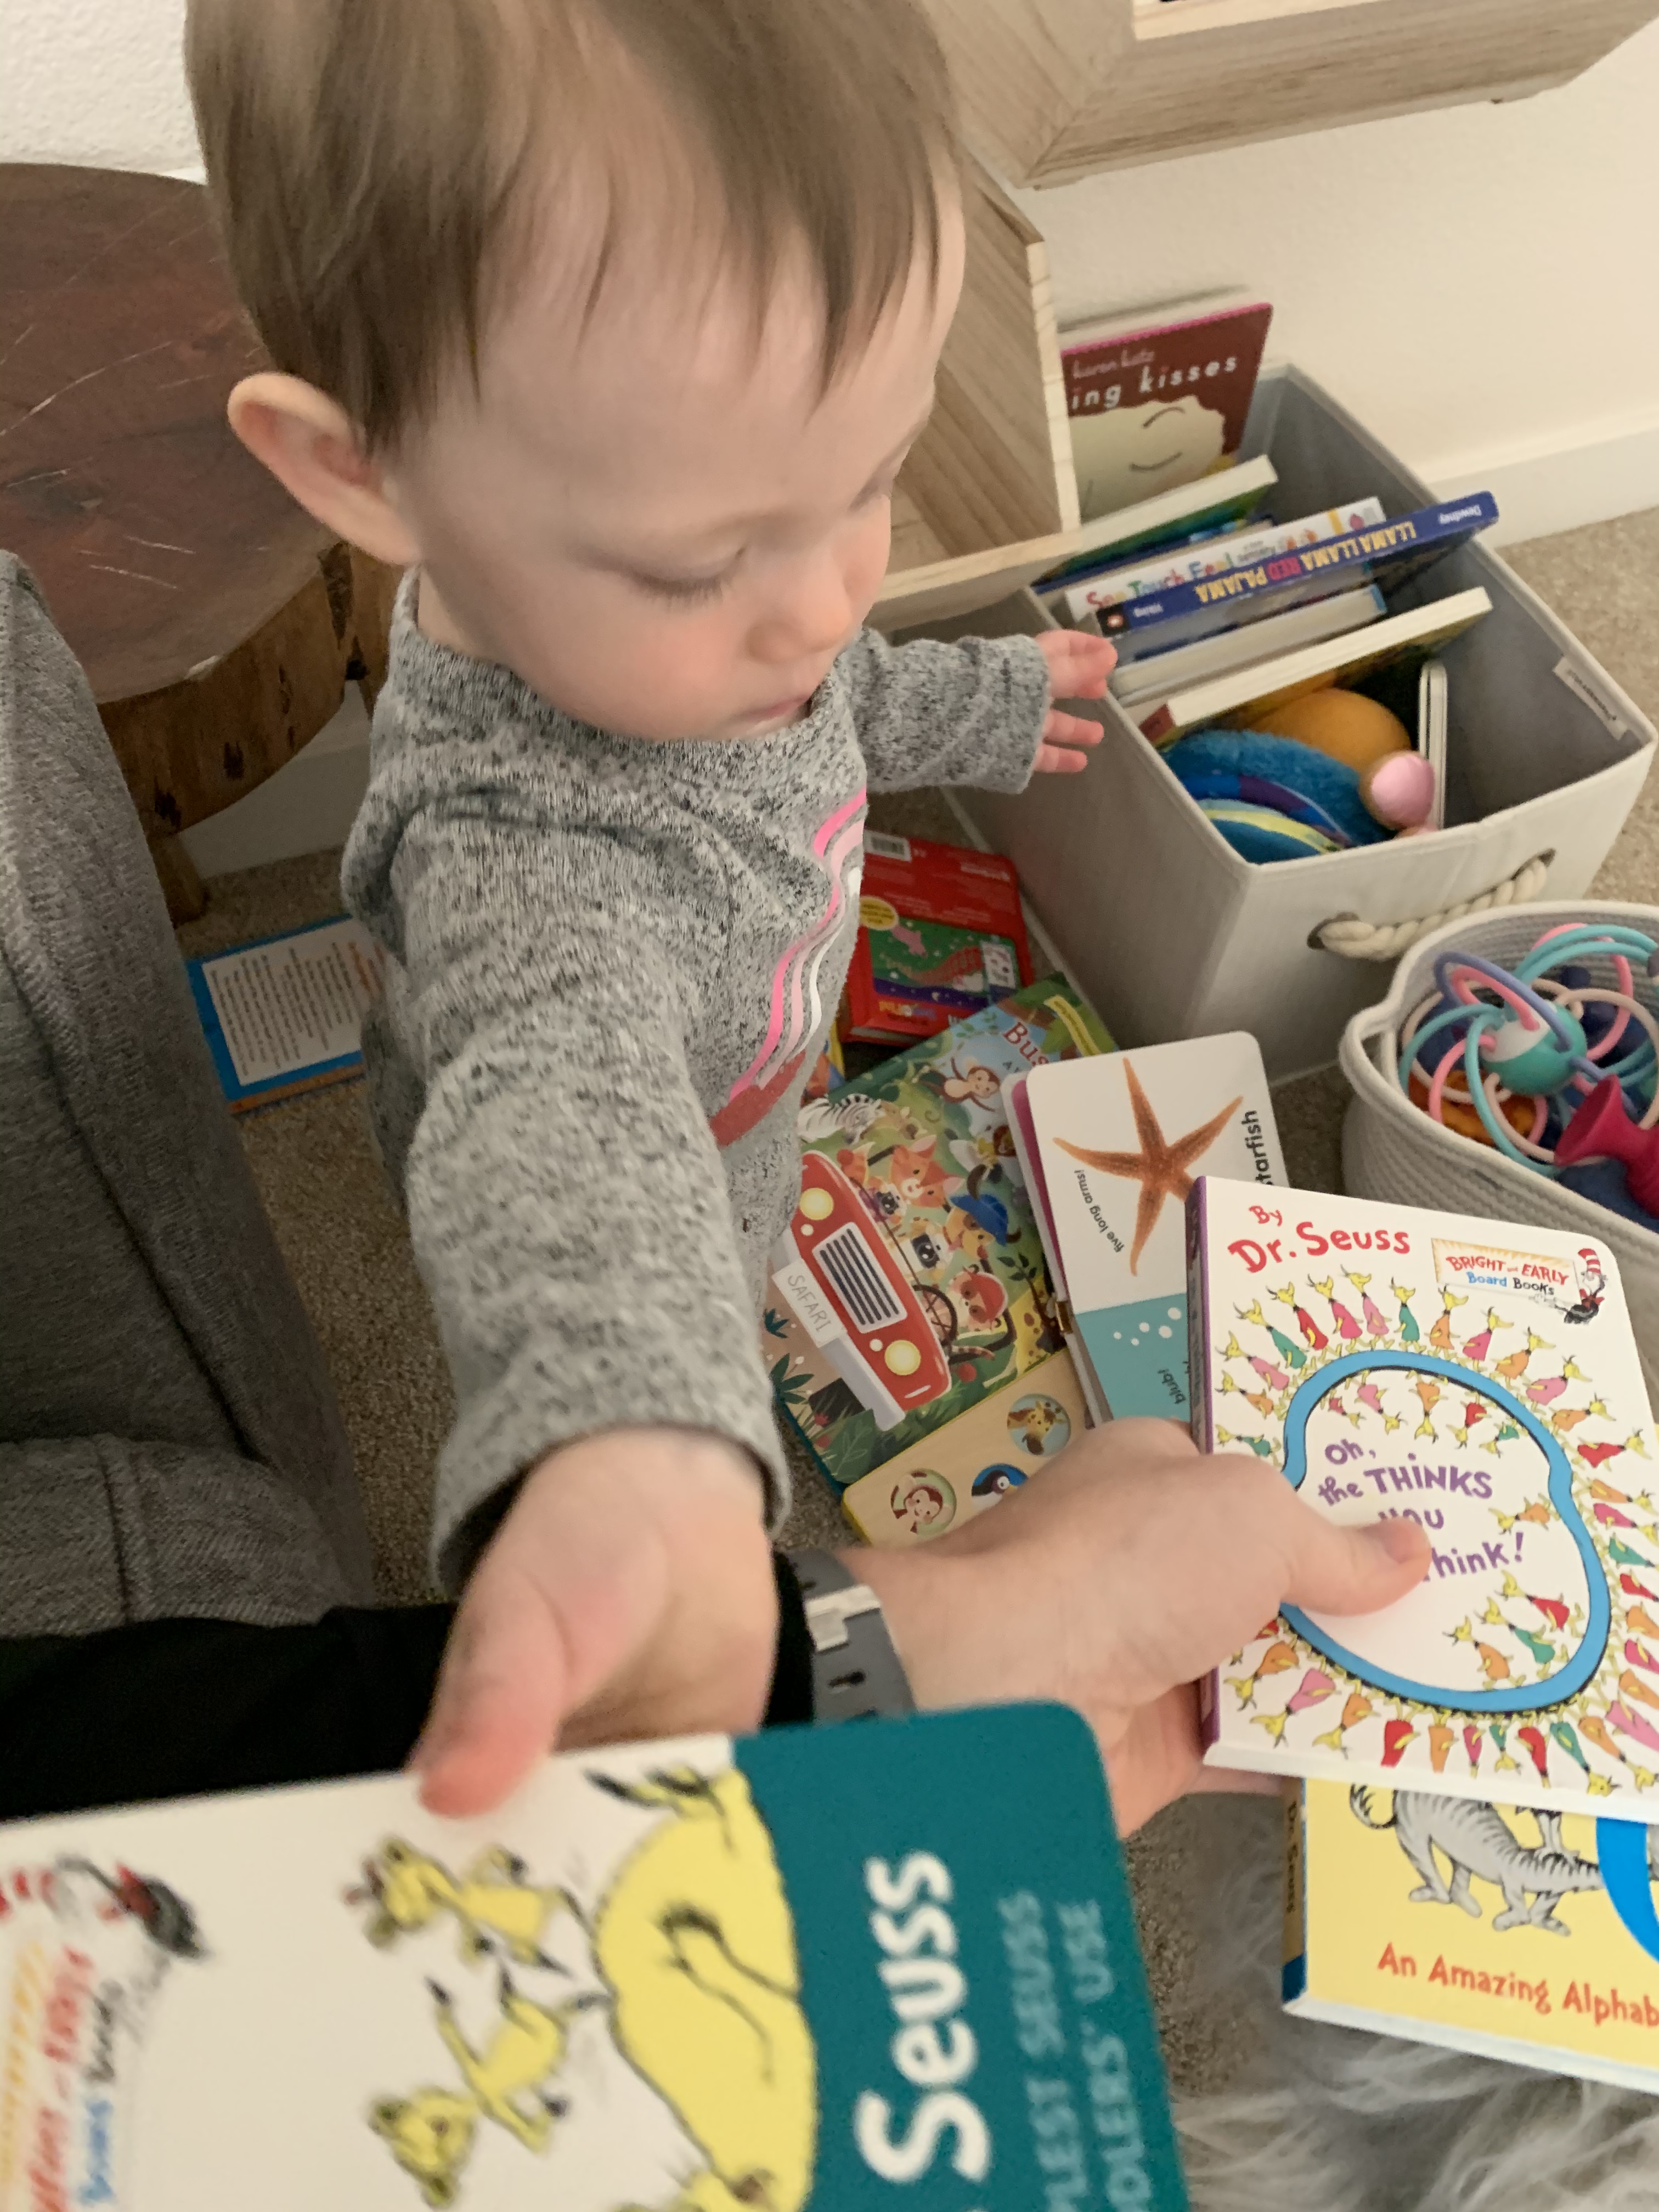
  • The next backpack was mostly a diaper and toy bag. I included enough diapers for the flight, wipes, an extra shirt for her (just in case) and lot’s of toys and activities. I try to pack toys that are not noisy but also are a good size so they don’t get lost when thrown under the seat. I did get a few new toys for the trip that she didn’t see until we were on the plane so they were completely new to her. One of her favorite activities was a sticker book I picked up at Target. It was for ages 3+ but since I was watching her the whole time, it was the perfect activity for her. The stickers are reusable so the fun never ends!
  • The oversized tote held lot’s of snacks and a couple blankets. I brought dried fruit for baby and parents, cheerios, teething crackers, and a few squeezable food pouches. I also packed some snack bars for myself and the hubby. I didn’t bring too many bigger snack items since we had a meal served on the flight.

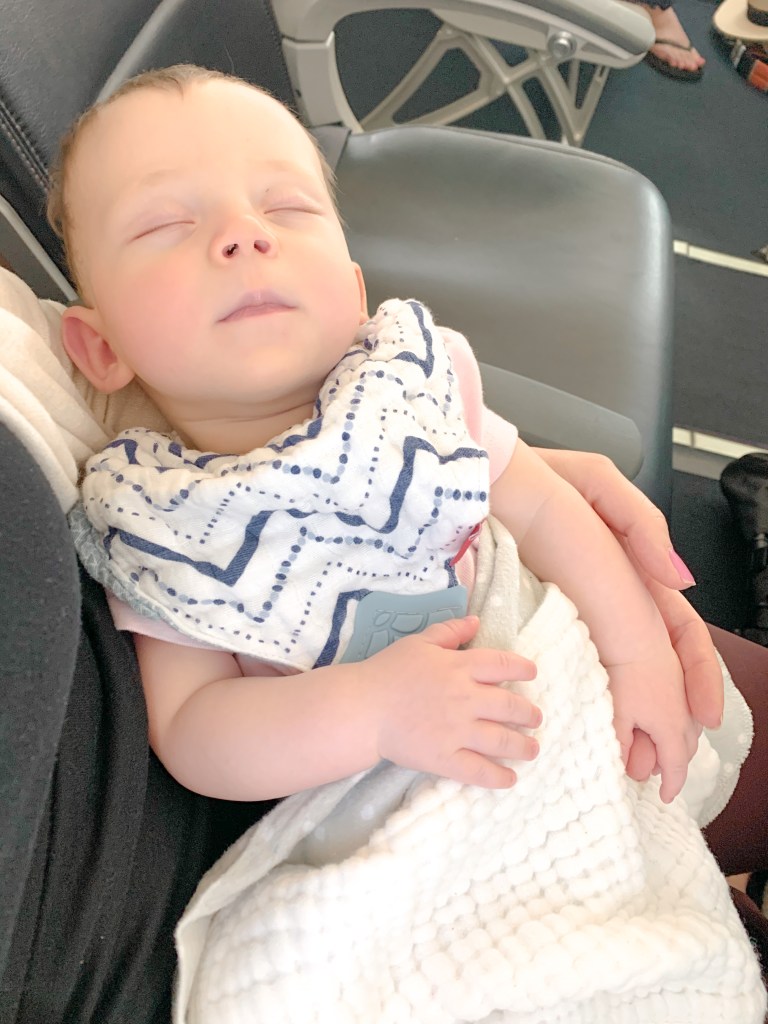
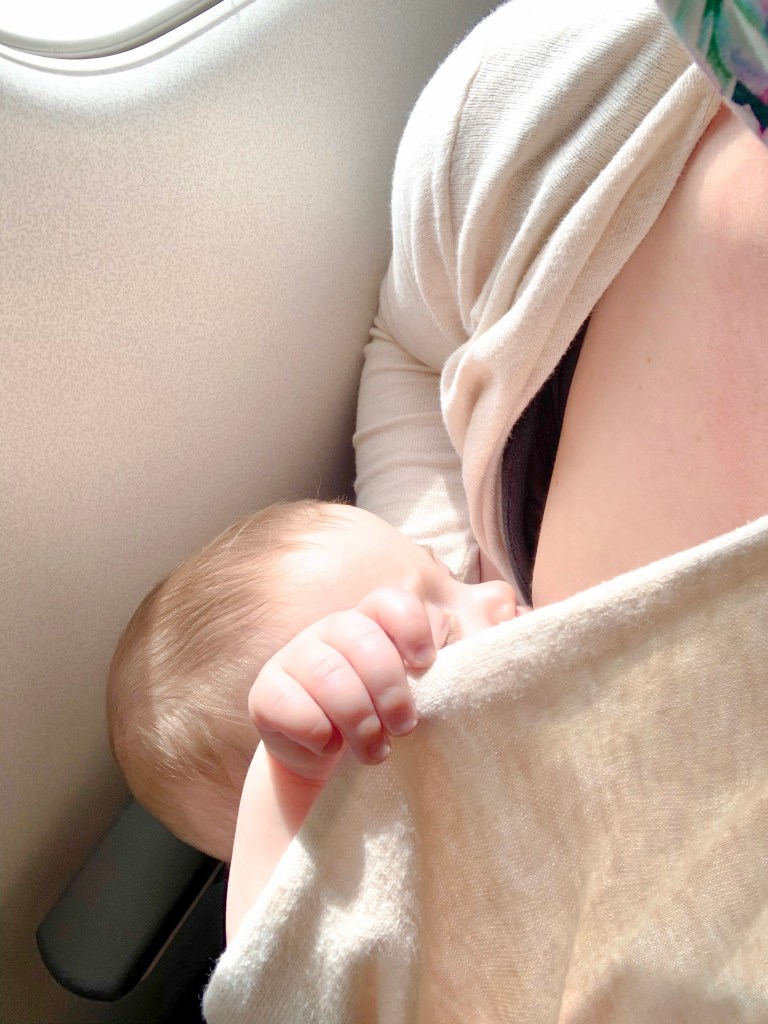
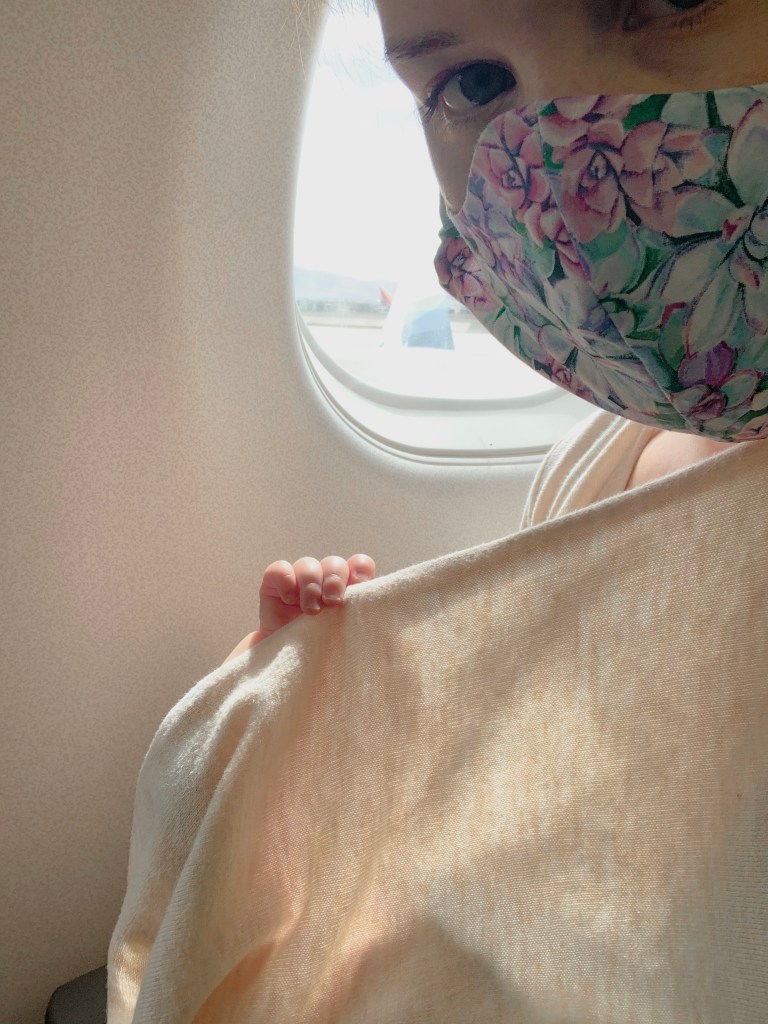
Along with her standing up and being much more talkative this flight, the biggest difference was her nursing this time. She didn’t want to nurse on takeoff so we took turns entertaining her for the first hour until she got sleepy enough to take a nap. Our first flight was at 9AM and her nap time is usually around 10:30 at home so she fell asleep right on queue. We then had about two and a half hours of her napping, sprawled out on her seat! (We both got to enjoy a movie during this time)

Once she woke up, the rest of the flight was a lot of her playing with the sticker book, walking the aisles with her daddy and snacking on anything I gave her. Once we landed, we were ready for a week in paradise…
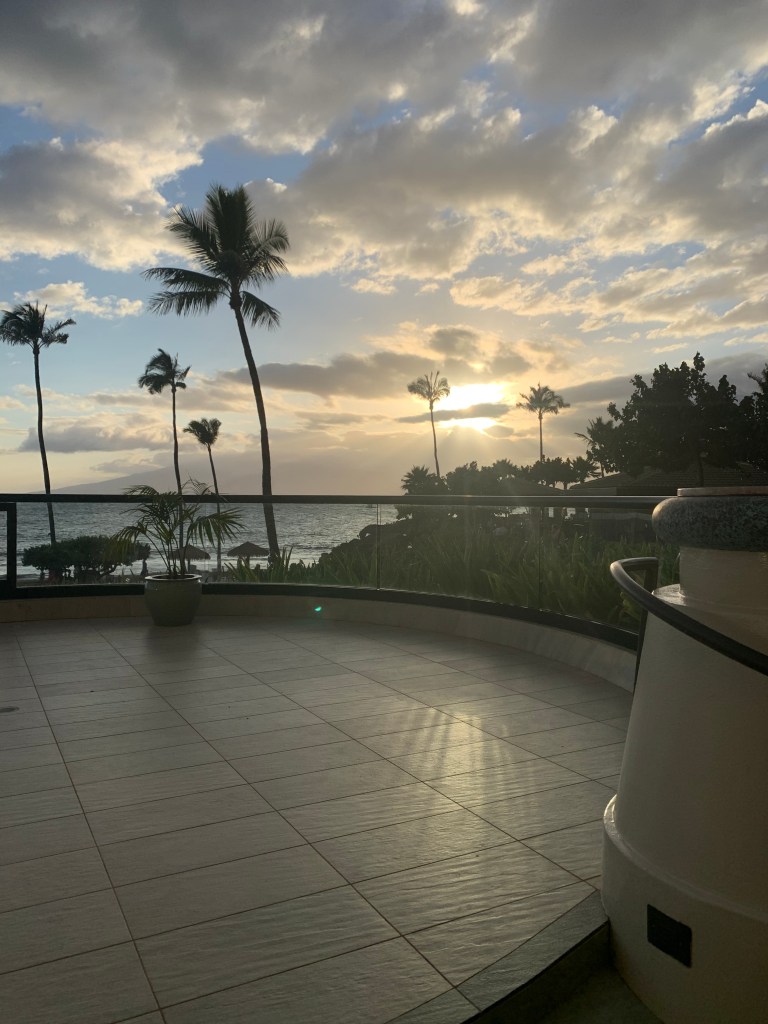
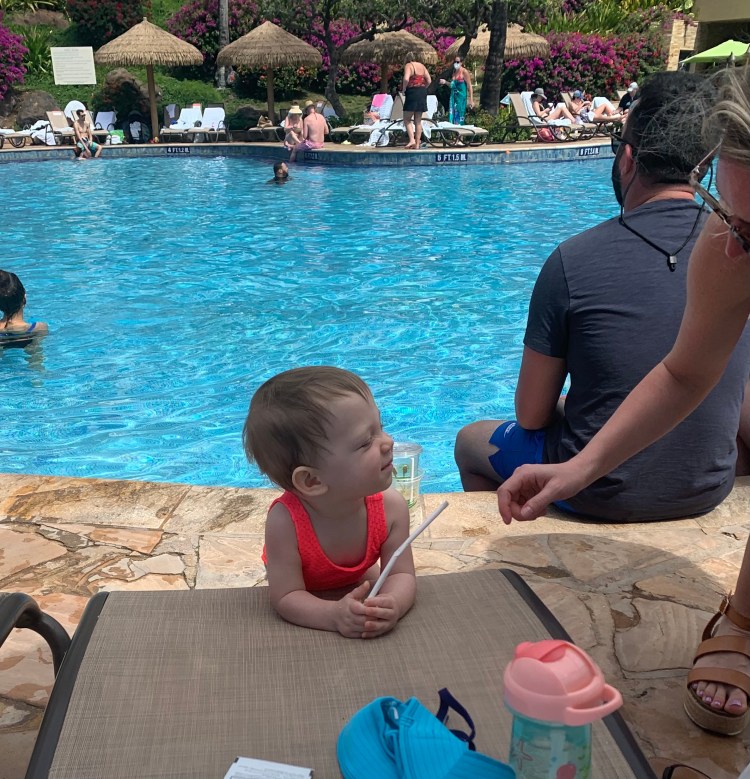
Vacation time

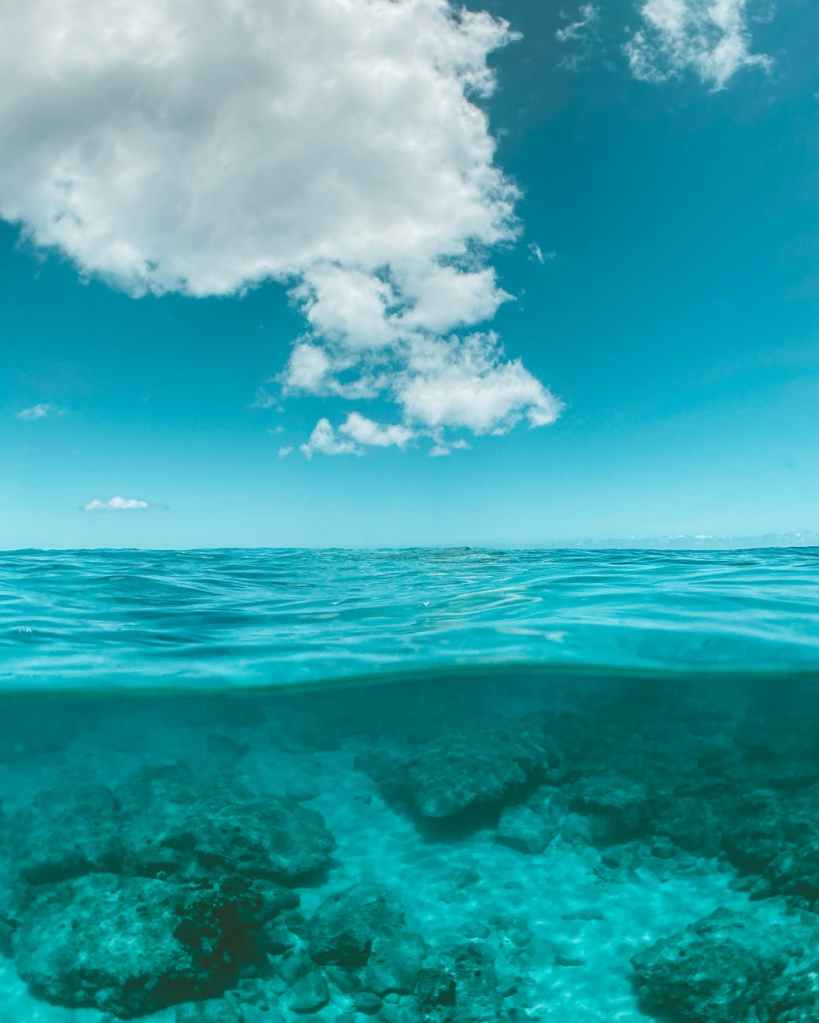
…but, we had to wait at the airport to get through the COVID screen first. To visit Hawaii when we travelled, you had to have a negative COVID test within 72 hours of departure and download the results to the State of Hawaii’s site. Once registered, flight details and results are uploaded, you receive a QR code to be scanned before exiting the airport. Sounds easy right? Well, it really wasn’t too much of a hassle until we had to wait in the longest line I have ever seen at the airport! Thankfully, once we got through the line, we were able to start our vacation and enjoy being on island time. You can check out this particular trip here.

Leave a comment

Hyatt Regency Maui Resort and Spa

On our last trip to Maui, we stayed at Hyatt Regency Maui in Lahaina for 5 days. I wanted to share some of the highlights of our trip. We traveled with our daughter (13 months at the time) and have some tips for traveling with baby here.

To visit Hawaii when we travelled, you had to have a negative COVID test within 72 hours of departure and download the results to the State of Hawaii’s site. Once registered and you upload your flight details and results, you receive a QR code to be scanned before exiting the airport.

Hotel

We stayed at the Hyatt Regency Maui Resort & Spa which I would highly recommend to families and couples traveling to Lahaina. The rooms are recently renovated and are beautifully done. The staff were all very helpful and accommodating for our large group (we traveled with my husband’s co workers). The pools are awesome and I hope to go back someday to experience the swim up bar (it is closed due to COVID). There is a separate kids pool with fountains and animals they can climb on in the water. I don’t remember the specifics as our daughter is not old enough to swim around on her own and mostly clings to us while we stand in the water.

It is truly “on the beach”! Many hotels say they are “on” the beach but you still have to travel down a path or through a small “jungle” to get there but all you have to do here is walk from the pool directly onto the sand! They also have penguins, parrots, swans, koi fish, and ducks around the resort that you can interact with. They have daily Pinguin feeds that you can sign up to attend and learn a little about the animals as well.

The buffet breakfast is at the Swan Court and you truly watch swans float by as you enjoy your food. (the buffet food is typical of other buffets I have had)

Food

Although there are multiple restaurants at the resort, we ventured down to Whaler’s Village for more dining options (it’s about a mile walk on the oceanside, but there is also a trolley that will pick you up in front of the hotel). Some of our favorite restaurants were Leilani’s On The Beach and Monkeypod Kitchen (super kid friendly!). We ate at both restaurants multiple times on this trip!

Leilani’s On The Beach and Monkeypod Kitchen have pretty laid back atmospheres that were perfect for dinner with our daughter in tow. She even got a good nap in at Leilani’s!

As part of our stay, we had daily buffet breakfast at Swan Buffet. It was a small selection with 5-6 hot items, changed daily, and a few fruit and pastry items too. Our daughter usually had lots of fruit and some scrambled eggs or similar item when available. The staff was very attentive in the dining area and watching the swan swim by was a great bonus. Since the buffet was included in our stay, we ate there every morning but if it wasn’t included, we would have ate at some of the restaurants at Whaler’s Village or just grab something from the coffee shop at the resort.

Things to do

  • Penguin feeding – The Resort has a daily penguin feeding you can sign up for but you can also see the penguins and parrots when you walk through the lobby most days.
  • Walk to Whaler’s Village- It is about a mile walk to the village on the ocean side and it is so worth the extra time. I highly recommend walking during sunset and taking it as slow as you want to go. If you don’t want to walk, there is a trolley that takes you from the front of the hotel. The Village itself is full of restaurants and shops. You can grab ice cream or gelato, you can shop at Louis Vuitton or Lululemon, or, grab everything you might need at the ABC store.
  • Whale Watching Tour- We had a blast on the whale watching tour with our group. It was part whale watching, part booze cruise so we left our daughter with a sitter and had a parents night out. It was amazing to see the whales that close up! I highly recommend going on one of the tours. You can sign up with one of the tour groups before your trip or find them at Whaler’s Village.
  • Golf!!- No, we didn’t golf this trip but we would have loved to. Ka’anapalo Golf Course is right in front of the hotel.

Traveling with Baby – Over 6 Months/Active

Welcome to the 2nd post in the “Traveling with Baby” series. Today, I am going over our flight and travel experiences from when our daughter was 8 months old and I believe these are good tips for any “active” baby. By this age, she wasn’t into sleeping as much as she was before 6 months but she also wasn’t walking all over the place as an older toddler would be.

This particular flight was from the Portland Airport in Oregon to Las Vegas, around a 2 hour flight. This time, I had to be a little more prepared to keep her distracted on the flight since she wouldn’t be sleeping the whole time! If you are looking for specific packing tips, you will find them here.

Photo by Dan Gold on Pexels.com

First off, getting to the airport and through security was our first priority. This trip was the first we didn’t take our car seat with us since my mom had purchased one before our visit!! Yeah for visiting family! If you need to bring a car seat, I recommend this carrier. It has straps to wear as a backpack and is just padded enough to keep your car seat safe throughout the adventures of checked luggage. We have checked it for multiple flights and our car seat has made it through with no issues each time. You can usually gate check a car seat if you need to but my husband usually checks his golf clubs on trips to Vegas so we figure it’s easier to check the car seat while we are there.

We also use a front pack like this one to carry our daughter throughout our trip. I LOVE wearing her and having both hands free to take my own shoes off, grab our luggage, and all the other things I need my hands free for. Also, you don’t have to take baby out of the front pack to go through security, which is a total time saver. If you prefer to take a stroller with you, this is our go-to travel stroller and it can fit under most airplane seats as a carry on. If you don’t carry it on, you are allowed to check it at the gate and it doesn’t count as an additional carry on.

Prior to boarding, we change her diaper one last time and both of us go to the restroom. It is much easier to do all these things on the ground instead of on the cramped airplane. For boarding, families are allowed priority boarding if you need more time to get settled. This trip, we decided not to board early since our daughter was a little more active and it gave her time to continue to look around at all the new experiences. This will be dependent on your individual child and if you think they can handle sitting in the seat for a little longer or if you have luggage you want to make sure you get overhead bin space for. Our flight was not fully booked, due to COVID, so we also thought it was fine to wait for that reason.

One thing I would like to mention as well, regarding seats, we chose to have our daughter on our lap this trip since the plane was a 2 seater and we didn’t want to split up our family. The flight home was a 3 seater but we still had her in our lap since this was during a time that Alaska was not filling middle seats due to COVID, we basically had a free seat for her. She still sat in our laps for take off and landing but we were able to lay her down for her nap on the extra seat between us.

The difference of this flight from our previous flight, when she was 5 months old, is that she didn’t nap the whole time. It was still a pretty short flight but I made sure to have plenty of distractions for her. Our diaper bag was filled with toys and snacks and only a few diapers in case of a blow out. I also used non-toys to keep her occupied. The empty plastic water bottle and cup the flight attendants passed out was a life saver, even the napkin given with the snack was entertaining for her. As long as you don’t mind picking up little napkin pieces for about 30 minutes, it was a great “toy”! She was also teething during our first flight so my husband did walk the aisle to the bathroom with her at one point, just to get her up and looking around. It made her calm down and she didn’t mind coming back to the seat after 2 trips down the aisle.

Our daughter doesn’t watch much TV at home and it isn’t usually much of a distraction for her but, I was able to get her to sit still and stare at Troll’s for about 20 minutes, see above! I didn’t worry about her listening to it at this point, I hadn’t bought headphones for her yet, the colors and animation were enough to keep her entertained. As you can see in the above picture, she had PLENTY of distractions in front of her at all times!

That’s all I have for this trip, it was similar to our first flight with her, you can see that post here. Coming up, our biggest travel experience with her to date! Stay tuned…

Traveling with Baby – Under 6 Months

Welcome to my traveling with baby series, where I share my travel tips with a baby in tow. First, I want to share tips for traveling with a baby 6 months and younger before diving into the older babies. I found that traveling with our daughter under 6 months was a lot different than traveling with her at 8 months and then it changed again once she was a year old!

Our first air travel experience with our daughter was when she was 5 months old and we took a flight from Portland to Las Vegas (just under 2 hours). I wasn’t overly worried about the actual flight since it wasn’t very long and our daughter is pretty easy going but I planned a lot around the airport portion of our trip as that was the unknown! What would it be like to get through security with a baby when many adults have issues getting through smoothly on their own! We got lucky to have my sister come with us on this first trip and it was during COVID so the airport was not packed like it normally would be!

Here is our airport and flight experience, with recommendations added in, for our first flight with our 5 month old daughter:

If you are looking for recommendations on what to pack, check out my post here.

In addition to our packed bag and a diaper bag, we brought a car seat and this portable stroller. My mom lives outside of Las Vegas so we had to bring her car seat for this trip. We flew Alaska and they allow a free checked car seat if you are traveling with a baby. Check with the individual airlines, as some will charge you for the car seat if your child does not have their own, paid seat (Hawaiian Airlines happens to do this).

If you won’t be traveling by car when you get to your destination, you can try to go without a car seat. Another option in many tourist destinations is to rent one, I haven’t personally tried this but have heard it works just fine. Some car rental companies can even have them ready and in the car for you. If you need to take your own car seat, I recommend a bag to carry and check it with. This is the bag we have used many times and love it. It’s held up on 5 roundtrip flights with her infant car seat and much larger toddler car seat as well.

Instead of taking our bulky everyday stroller, we like to take the Mountain Buggy Nano stroller. It is lightweight and folds up to fit under your airplane seat. We don’t use it in the airport but love to have it with us at our destination, it does count as a carry on if you decide to take it on the plane with you but you can check it at the gate at no additional charge if needed.

Speaking of the airport, we carry our daughter in a front pack so we have both hands free. Also, we have always been able to go through the metal detectors with her still strapped and that makes it super convenient to get through quickly. Once we get to our gate, we usually let her out and change her diaper before we board. Even on a short flight, changing her diaper ahead of time and getting her out of the front pack to look around and stretch is super important. I recommend the parents try to go to the restroom at this time as well, it’s a lot easier at the airport than on the plane when baby has fallen asleep!

For boarding, the airlines always offer early boarding for families and we decide on a trip by trip basis if we will take up that offer. For instance, this first trip, we did board ahead of time since she was young enough to sit/lay still and we could get set up in our seats the way we wanted. Also, we had plenty of carry on luggage we wanted to make sure we could have in our overhead bins nearby and didn’t have to search for an empty spot with a bunch of people waiting for us. We keep our daughter in the front pack while boarding so she is contained and, again, we have both hands free for everything we need to do (handing tickets over, putting luggage in overhead bins, stowing carry-on’s, etc).

Once we are in our seat, we get everything set up and within arms reach right away. Once she falls asleep, it is much easier to get to anything you need if this is already done and you don’t have to worry about waking them up to grab your water, etc. For takeoff and landing, I try to nurse my daughter which usually puts her right to sleep and I’ve heard it keeps babies ears from hurting due to the pressure. If your child takes a bottle or uses pacifiers, those are great options too. My biggest tip for getting them to sleep is to wait until after the pilot announcements and the flight attendants safety routine, otherwise, the loud voices may wake them up. This has happened to us on occasion but thankfully, the noise of the airplane usually put her back to sleep quickly. The airplane noise is a built in sound machine for most babies! For the remainder of the flight, our daughter slept and it was very peaceful, I don’t wake her up for landing but will nurse her if she does wake up.

Upon landing, we strap her back into the front pack for leaving the plane and getting all our belongings. I hope these tips help with your next flight. Feel free to leave a comment or question below and check out the other posts in this travel series.

What to Pack when Traveling with Baby

Welcome to my “Traveling with Baby” Series, where I am sharing all my tips for traveling with a baby. These are my go-to’s for packing when going on a trip with a baby.

Whether you are packing your child’s clothes separately, or all in one bag with your’s, I recommend using packing cubes. They keep everything organized and separate.

Diaper Bag- (I recommend a backpack type diaper bag for travel, it is much easier to have both straps on your back then trying to keep one strap on your shoulder while wrangling a kid in the airport)

  • Diapers and wipes for the travel and first day (buy some more once you get to your destination, they take up valuable luggage space)
  • Infant Tylenol (I tend to always have it with us when we travel since our daughter has been teething since she was 4 months old and you never know what travel is gonna do to their immune system)
  • Bottles and formula, if needed (my daughter never took a bottle so this was one thing we never had but is worth mentioning)
  • Breastfeeding cover- This has been my favorite nursing cover, for travel and daily life. It gives her plenty of space to breath and also provides great coverage for me. It is under $10 too! I also try to wear outfits that are easy for nursing in (usually, a tank top and cardigan that can be pulled over to conceal one side when I am on the plane)
  • Toys- 1 or 2 of their favorites and maybe 1 or 2 new ones to distract! I also recommend keeping the water bottle or cup you get on the plane, babies LOVE non toys too!
  • Extra shirt for baby and parents (I’ve never had a mishap while traveling but I am afraid the one time I don’t plan, I will end up regretting it)
  • For babies eating solids – favorite snacks and sippy cup

Luggage-

  • 2 outfits for every day (if you have access to a washer and dryer during your stay, you can pack less)
  • 1 pair of PJ’s for every 2 nights
  • Hooded towel and washcloths (for baths, not the pool)
  • Sound machine (we have this portable one and love it)
  • Baby Shampoo/body wash
  • Breast pump- If you plan on using one
  • Laundry detergent Travel Packets- I use these ones. You can get them on Amazon or find them in the travel aisle at Target. I’ve used them on a 10 day Italy trip and 5 day’s in Hawaii with baby!
  • Weather related items (swimsuit, swim diapers, sun hats, coats, etc)

“Clean” Eating: What does it really mean?

I’m sure you’ve heard the term “clean eating” but what does that really mean? 

A quick google search would tell you it’s; “a fad diet based on the belief that consuming whole foods and avoiding convenience and other processed foods offers certain health benefits”. Honestly, that quick description doesn’t give this particular eating “lifestyle” the credit it deserves.

Truthfully, clean eating means something different to each individual. It even means something different at different stages of the same persons life. An infants nutritional needs are different from a teenager. A woman’s diet will look different when she is pregnant or breastfeeding. Your diet should change throughout your life, just as your body is constantly changing.

To me, clean eating includes foods that are optimal to my body at this stage in my life. There have been times in my life when my body has not done well with gluten/wheat but, currently, I can eat them with no problem. Dairy is another group that I have had to cut from my diet on occasion to get my gut health back to an optimal level. 

What does clean eating look like for you?

This is something, I believe, each individual needs to find for themselves.

I have found my optimal foods from doing my own research and testing out different “diets” throughout the years. Most of the time, I start with a cleanse, Whole30 is my go-to. Then, I add back foods in a reintroduction phase to determine how it affects my body. When I say diet, I don’t mean choosing a current fad diet and trying it out, those rarely work for the long term. I mean your unique “diet”, the foods that work for you and your body/health. The term diet has lost it’s true meaning throughout the years and it is time we take it back!

Doing my own research using an elimination method has shown me what foods, even if they are “healthy”, negatively effect my overall health. This isn’t just a, “oh, my stomach hurts or I have more gas” kind of reaction. I also search for other body reactions, such as, headaches, cramping, etc while also keeping an eye out for the good reactions; more energy, no stomach pain, quicker recovery, better sleep. All of these things are a way to gauge our current nutrition and how it is effecting us in all aspects of life. 

Eating the Rainbow-

If you are searching for your optimal diet, I would recommend trying an elimination diet, such as the Whole30, and reintroducing foods slowly. If you aren’t up for trying this method, I would suggest starting to “eat the rainbow”, choosing whole/real foods in all color groups. Next time you head to the grocery store, or fill up your online cart if your shopping from home, grab at last one fruit and veggie in each color and try it out.

Green vegetables have different nutrients than orange fruits but all are important for your overall health. Remember your elementary school teachers telling you to eat your carrots so you can see in the dark? There is something to that, carrots have beta-carotene, which helps your body create Vitamin A, and Vitamin A is good for your eye health. So, you may not end up with the super power to see in the dark but you will be able to see much better at night and any other time of the day as well.

Quick Clean Eating Tips To Get You Started-

  1. Eat more fruits and vegetables
    • Eat the rainbow, see above
  2. Limit processed foods
    • The modified version of “healthy” foods are still far from the natural state they should be in
  3. Read labels
    • Start looking at those ingredients! You may be surprised by what is inside your favorite foods.
  4. Avoid refined carbs and added sugar
    • Inflammatory with little nutritional value
    • Choose whole grains that are minimally processed and ‘real’ sugars (fruit)
  5. Make water your primary beverage
    • There are SO many benefits to drinking water!

Now’s the time to stop the yo-yo diets of the past and start learning what foods work for you, from your own body. Take the power away from the diet industry and put it back in your own hands, do the work and you will be rewarded with a lifetime of healthy choices. You only get one body, take care of it!

Welcome to WholeHealthMomma

Hi there and thank you for visiting my page! I am Katrina and I live in Oregon with my husband, daughter and two fur babies. I am a stay at home mom (SAHM) with a passion for health and lifelong learning. “Always learning and evolving” is my motto!

This blog is my chance to share my constantly expanding knowledge of health through fitness and nutrition while being a full time momma. I also will not shy away from other areas of interest, such as, organization, productivity, finances, parenting and travel. I am always reading books and articles related to all these aspects of my life and I hope to give you snippets of the information I obtain.

Prior to staying home, I was a career driven women working my way up the corporate ladder from banking to escrow (real estate industry). My husband and I made the decision when our daughter was 14 months old that it was time for me to focus on her and our home. I am excited for the adventures, experiences and memories we are about to make. I feel as though I get to be the ultimate teacher to my daughter and keep our family on track with our goals and finances.

Come join me on this new journey and I hope you can take away some tips on how to live your best life!

New Journey, Big Decisions

My husband and I have recently made the decision for me to stay at home with our daughter and focus on her development and our home. I am so excited to be on this new journey as a full time stay at home mom and I am so thankful for the support of my hard working husband to have this opportunity.

After working non stop since I was 16, I never thought this would actually be a reality. That’s not to say I am not working, trust me, I am working my butt off to raise an independent, strong, kind, supportive daughter but this is the first time since I was a kid that I am dependent on another person for my income. It is a thought I am still getting used to and I am constantly reminding myself that what I am doing for our family, is amazing! We’ve worked hard for our financial freedom to make this a possibility!

I have so much respect for all moms, SAHM and working moms, after becoming one myself. The work we do on a constant basis to keep these little humans alive is more than we could ever be compensated for. Both scenarios are hard in a different way but I hope to bring you along on this new journey and give some advice and tips I learn along the way.

For starters, we came to this BIG decision after much discussion and planning. With something like this, I recommend a pro’s and con’s list, just like you made in school all those years ago. That is a good starting point to get you thinking about why you are really thinking about this big decision. Once you have the pro’s and con’s listed for each item, you can begin to do more research for anything that might have monetary or a time value to it. For us, childcare, healthcare and car gas and maintenance costs were some of the items we had to research and account for. The time piece was a given in our situation since the decision to stay home would free up my time to spend with our daughter, learning new things, experiences she wouldn’t have at a day care and all the household chores I set aside due to work.

Once you have gotten through those lists, sitting down and having a thorough discussion with whoever else is affected by the outcome is essential. You want to make sure everyone is on the same page and any expectations are hashed out now. Again, for us, this had more to do with my day to day time management to optimize the goals I was setting for our family and myself. Since I am now relying on my own schedule (well, my daughters too), I knew that I needed to keep on top of it all from the beginning. Read all about our daily schedule here.

I hope the next time you have a BIG decision to make, you can follow our model to get you to the right choice for your situation. In the meantime, come follow along on my new journey!

How to optimize your toddler’s day at home

Days at home with my toddler could get really out of hand if I let them but we have implemented a “flex-schedule” to allow us to optimize our days. Here is a snippet of our day to day that may help you create your own optimized schedule: 

As of this post, my daughter is only 14 months old and I have just recently started this new routine now that I am at home full time. That being said, the routine may change in the next year as she grows and we work out any kinks in the current schedule that I am not aware of. Also, I have some items listed in the age appropriate chores and activities that are more geared towards a 2 year old but, as any parent knows, that time will be here before I know it so I am just getting prepared! 

One of the biggest concerns I had when we decided I would stay home was the need for social encounters of the adult kind! I knew that being home with my daughter and two fur babies all day could mean some serious lack of mental stimulation for me but I am determined to counter that with a healthy fitness routine and various public outings throughout the week. Some days, that may just mean getting to Target or the grocery store for errands but that is fine by me.

Adding my daily run into the routine was important for me as that is the one constant workout I have been able to incorporate while at home with my daughter. Since we invested in a good jogging stroller (we use the BOB Allterrain Jogging Stroller), I have been able to get out on runs with my daughter in tow and not worry about trying to fit a workout into her nap times or early in the morning. Although, the days I can add a workout in are bonuses! I also bought a rain cover so I can get out in any weather, we’ve ran in the rain, snow, and wind! The wind is another story though, that can be pretty tough no matter what you have prepared for. My daughter also enjoys our daily runs and will even nap on occasion while we are out. If you start them out on daily walks when they are young enough, they should be ok in the stroller as they get older. Trust me, my daughter does not like being contained, but as soon as the stroller starts to move, she is content. 

Reading daily and incorporating learning opportunities was something else super important to me as I created our schedule. My goal is to read at least one book a day to our daughter and I could easily find myself missing this opportunity if I chose to omit structured activity times. As shown above, I have listed specific activities on our schedule so I can reference it when I am unsure of what educational or fun opportunity to select that day. 

Hopefully this is a good starting point for you to create a “flex- schedule” with your toddler. Remember, kids are unpredictable and your perfectly laid out plans may not be what they have in mind so “go with the flow” and be sure to bend a little so you don’t “snap”! 

Elevated Grilled Cheese Recipes

If you love grilled cheese but are tired of the typical bread and cheese recipe, check these out:

Rustic Mozzarella, Basil and Bacon Grilled Cheese Sandwich

Photo by Lisa Fotios on Pexels.com

Ingredients

  • 4 Slices of hearty artisan bread of choice
  • 4 slices cooked bacon (suggest baked bacon)
  • 4 slices of mozzarella
  • Half an avocado, sliced
  • Roma tomato, sliced
  • Basil leaves
  • 2 Tablespoons butter

Method-

  1. Butter one side of each slice of bread
  2. Layer mozzarella, bacon, avocado, tomato and basil on two of the bread slices on the non-buttered sides.
  3. Top with remaining slices of bread, butter side up.
  4. Add sandwich, one at a time preferred, to a skillet on medium high heat and cook until golden brown and cheese begins to melt (about 4 minutes)
  5. Carefully flip sandwich, reduce heat to medium and cook until cheese has melted and bread is golden brown.
  6. Slice in half and serve with your favorite soup

Apple, Cheddar and Brussel Sprout Slaw Melts

Ingredients-

  • 4 slices sourdough bread
  • 2 teaspoons honey mustard
  • 2 cups shredded, cooked chicken
  • 1 cup grated cheddar cheese
  • 1 small apple, cored and cut into matchsticks
  • 5 Brussel sprouts, finely shredded with a food processor (you can use a knife if needed)
  • 2 tablespoons butter
  • lemon juice
  • salt and pepper

Method-

  1. Place baking sheet on middle rack in the oven and heat to 450F.
  2. Spread butter on one side of each slice of bread. Spread honey mustard on opposite side of half the slices of bread.
  3. Carefully remove baking sheet from oven, using oven mitts. Place all bread slices, butter-side down, on the baking sheet. Spread shredded chicken evenly among the mustard-spread bread slices, then add cheese on remaining bread slices.
  4. Return baking sheet to oven and bake until cheese is melted and bubbling, about 10 minutes.
  5. While the bread is baking, make the slaw. Combine the apple, Brussel sprouts, and 1 tablespoon lemon juice in a small bowl. Season with salt and pepper as needed.
  6. Remove baking sheet from the oven and transfer bread slices topped with chicken to a cutting board. Top chicken with slaw and place remaining bread slices cheese-side down on top of the slaw.
  7. Cut each sandwich in half and serve.